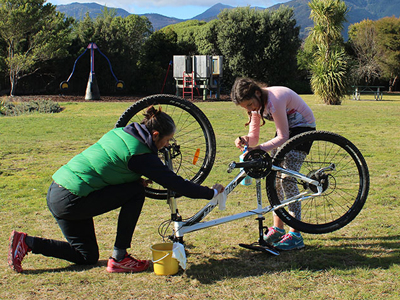
We are already well into 2015 but it only seems like yesterday that it was New Years Eve. Staying up late and seeing the New Year in is not something I chose to do but our family loves to start the first day of January with a special breakfast watching the sunrise from a picturesque location (often up a hill). We love New Years because it offers so much hope, energy and clarity for new goals and change.
The main theme for the goRide entry into Bikefest Nelson’s Sprig & Fern Bicycle Art Competition is change. We wanted to represent the influences that the bicycle has had on women since its introduction. What we found was how the simplest of machines, the bicycle, facilitated so much change for women…
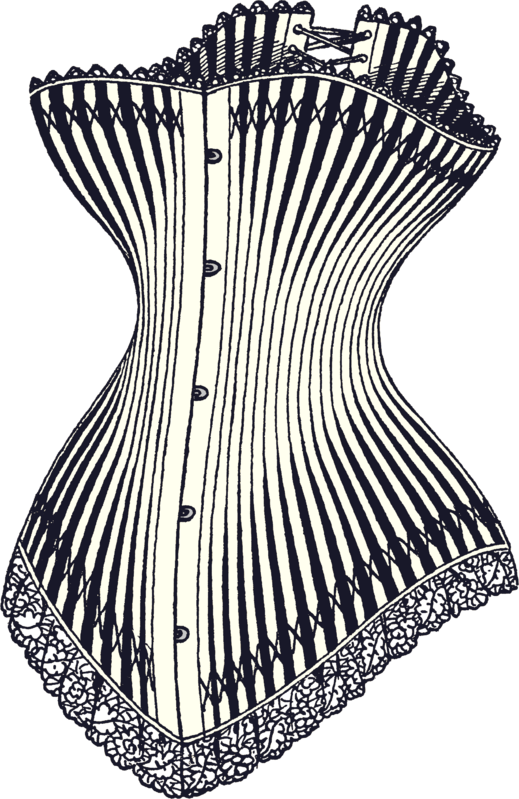
Consider, a women of the 19th century; dressed in a corset, voluminous burdensome petticoats and stiff skirts. Bound by many social restrictions. Riding was dangerous, completely impractical, and socially unacceptable.
The bicycle paved the way for change. It facilitated; freedom from restrictive clothing, new mobility, a means of transport, independence, athleticism, improved health, belief, shenanigans and joy.
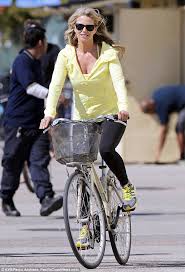
And a woman of today; where we have pants, and all sorts of clothing options to ride in, freedom of choice, improved equality, voting rights …
Oh so different and so much change yet no matter whether you are from the 19th century or from today; a beginner or experienced; female or male; 8 or 80 years old the bicycle still offers all of us the same benefits;
independence, freedom, empowerment, improved health, joy and transportation
What benefits do you and/or your family get from riding? Are there things that you would like to work towards? Are you keen to take action, to make change or set some riding goals. goRide would like to support you to make change so you can goRide more places, more often the goRide way. Let us know your plans for 2015 in the comments below. Happy New Year.
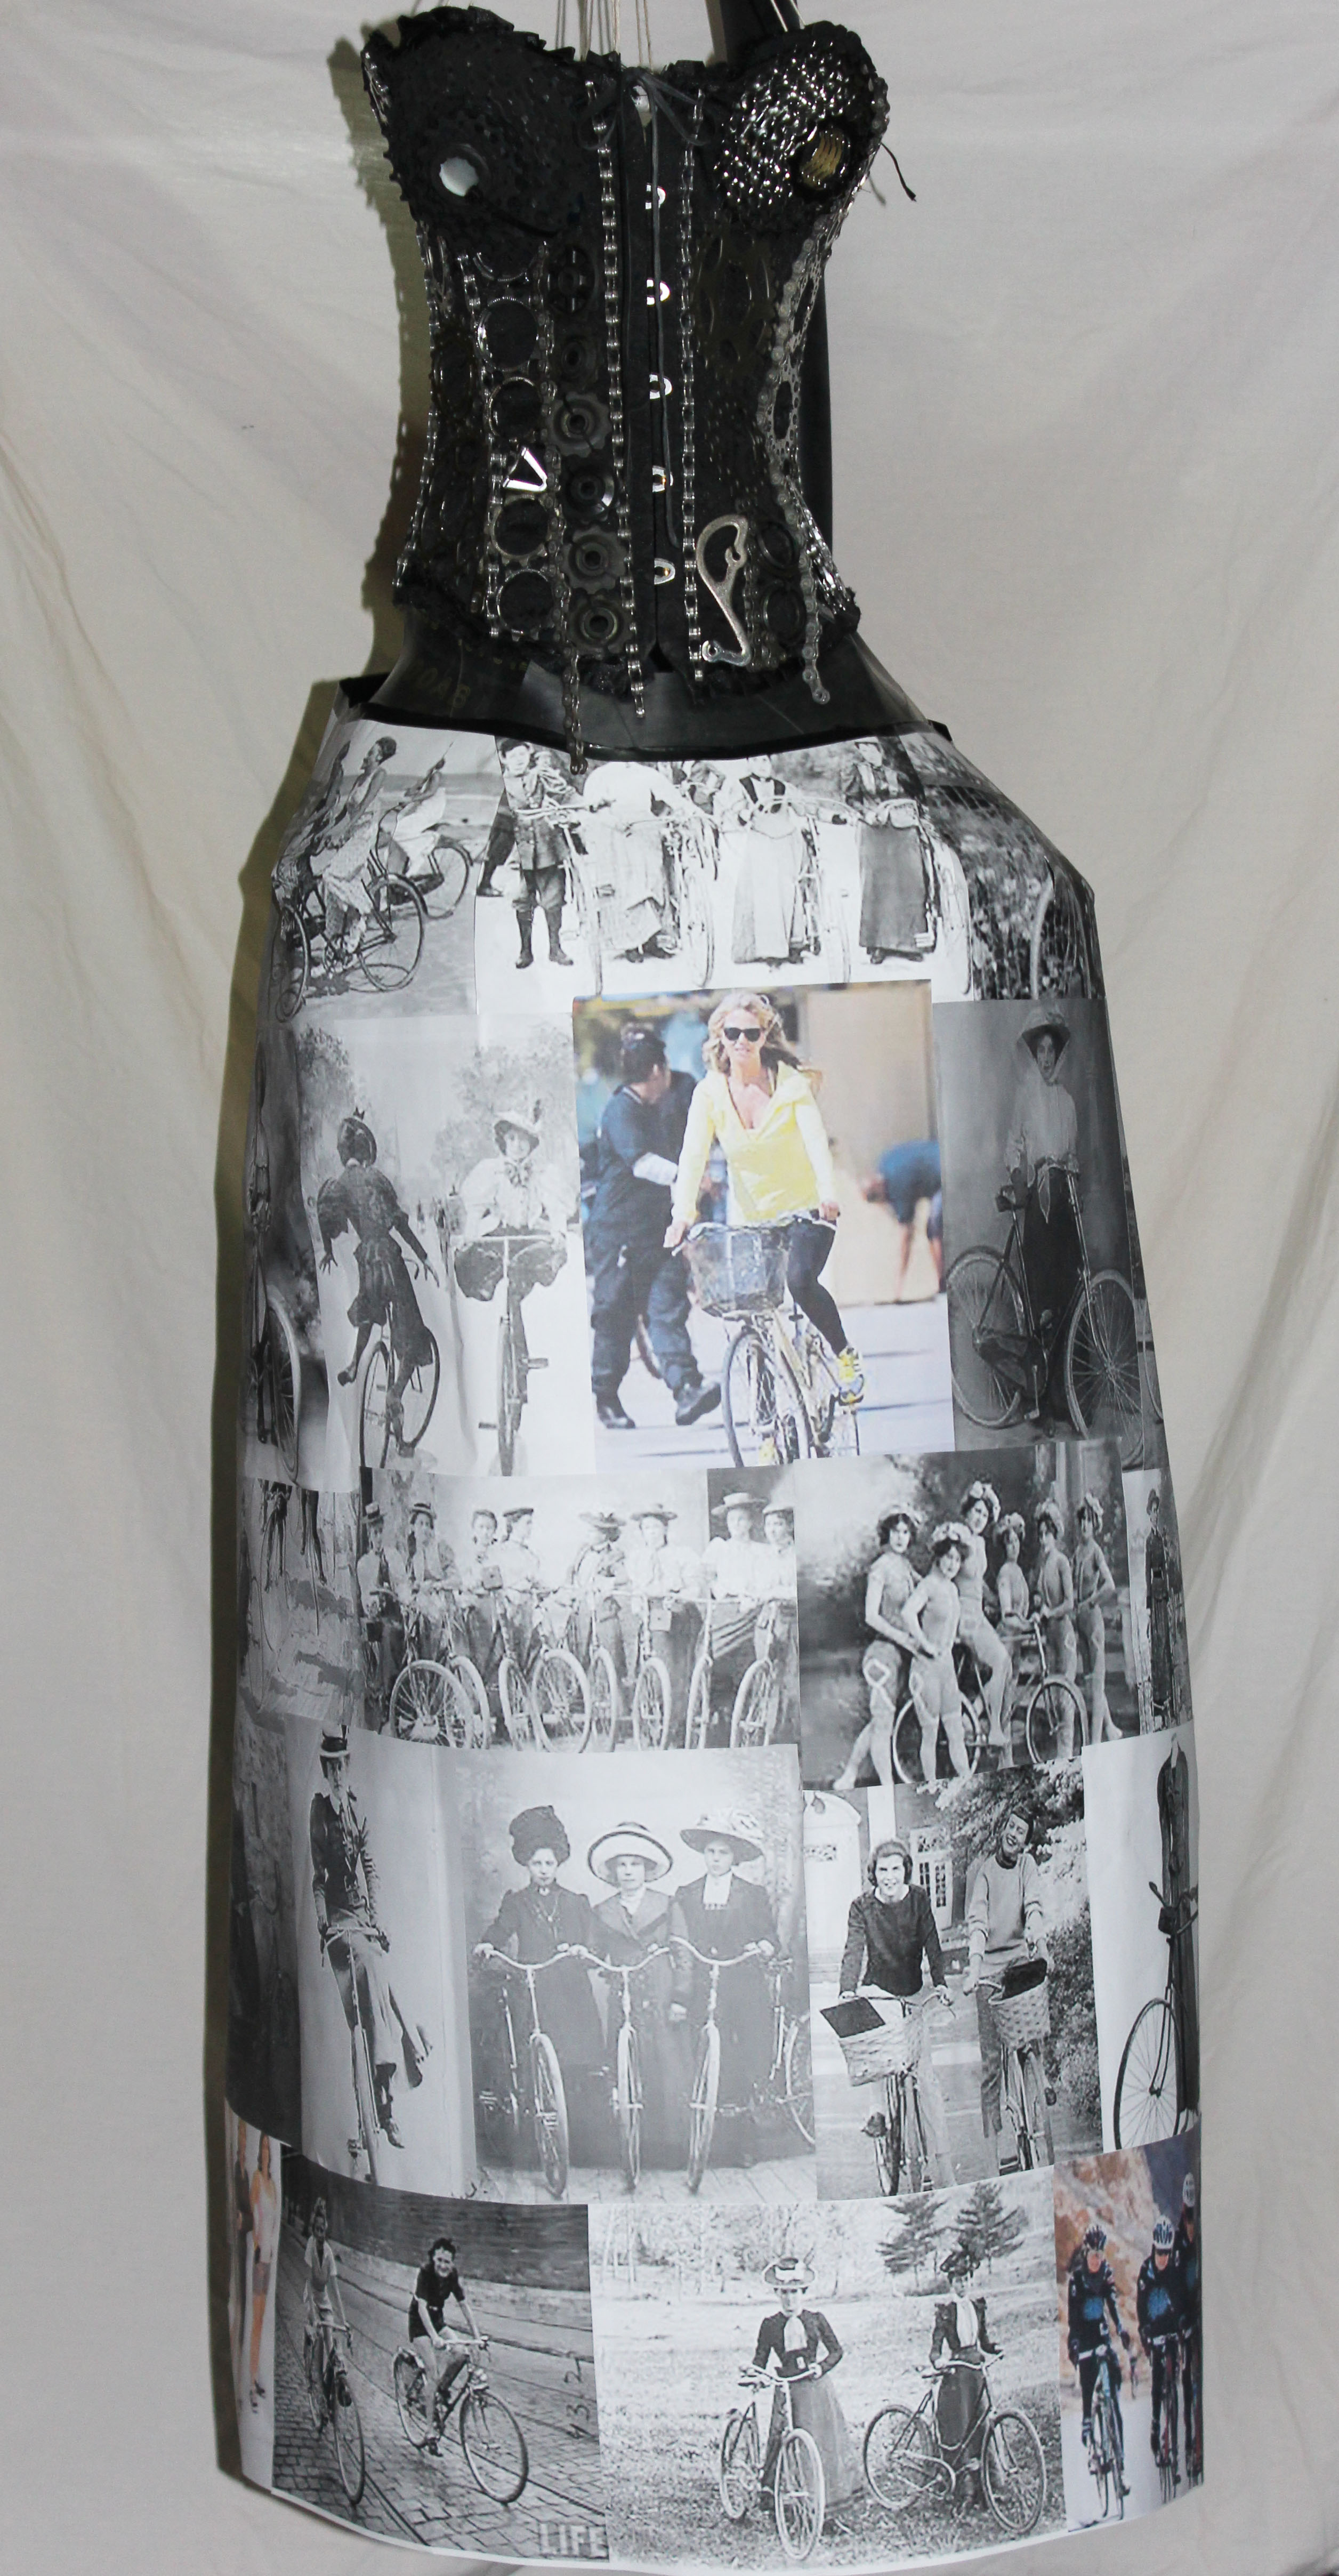
A Woman’s Journey – Changed By the Bicycle. From corsets, voluminous skirts and social restrictions to pants and freedom.
Have a good look at the images of the goRide entry into the Konica Minolta Nelson Bikefest Art Competition.
The corset is covered in all sorts of bike bits and pieces like chains, cogs, clusters and stem caps. It is held together at the back with brake cable.
The corset is connected to the skirt with rubber from tubes.
The voluminous burdensome stiff skirt is made of photos of women riding from the 1880’s through to today.
Konica Minolta Nelson Bikefest 31st Jan – 13th Feb 2015, finishes on the 13th February with a carnival at Trafalgar Park, 4 – 9pm, “Carnivelo – a celebration of cycling”. The entries in the Sprig & Fern Bicycle Art Competition will be on display at Carnivelo. If you are from Nelson or visiting then head to the official website here for more details. Hope to see you there!
Thanks for reading. Used together our stories and resources support you to achieve and develop as a rider.
goRide is a shared journey, so we would like you to assist in guiding it along the way. Contact goRide. Your thoughts, comments or feedback are welcome. Thank you for being a part of the goRide way.
If you know this routine great, promise me you will slow down and do it before every bike ride. Also promise me you will teach your family. If you would like more information to follow are the simple instructions, and don’t worry if you’re not a natural mechanic the whole point of these routine checks is to catch things before they get too “big”.
If you discover a problem, try to fix it – e.g. pump up your tyre, close the lever, adjust your brake lever, adjust your helmet – if you need some help read more of our support & stories or take your bike into a mechanic.
Wheels & Brakes
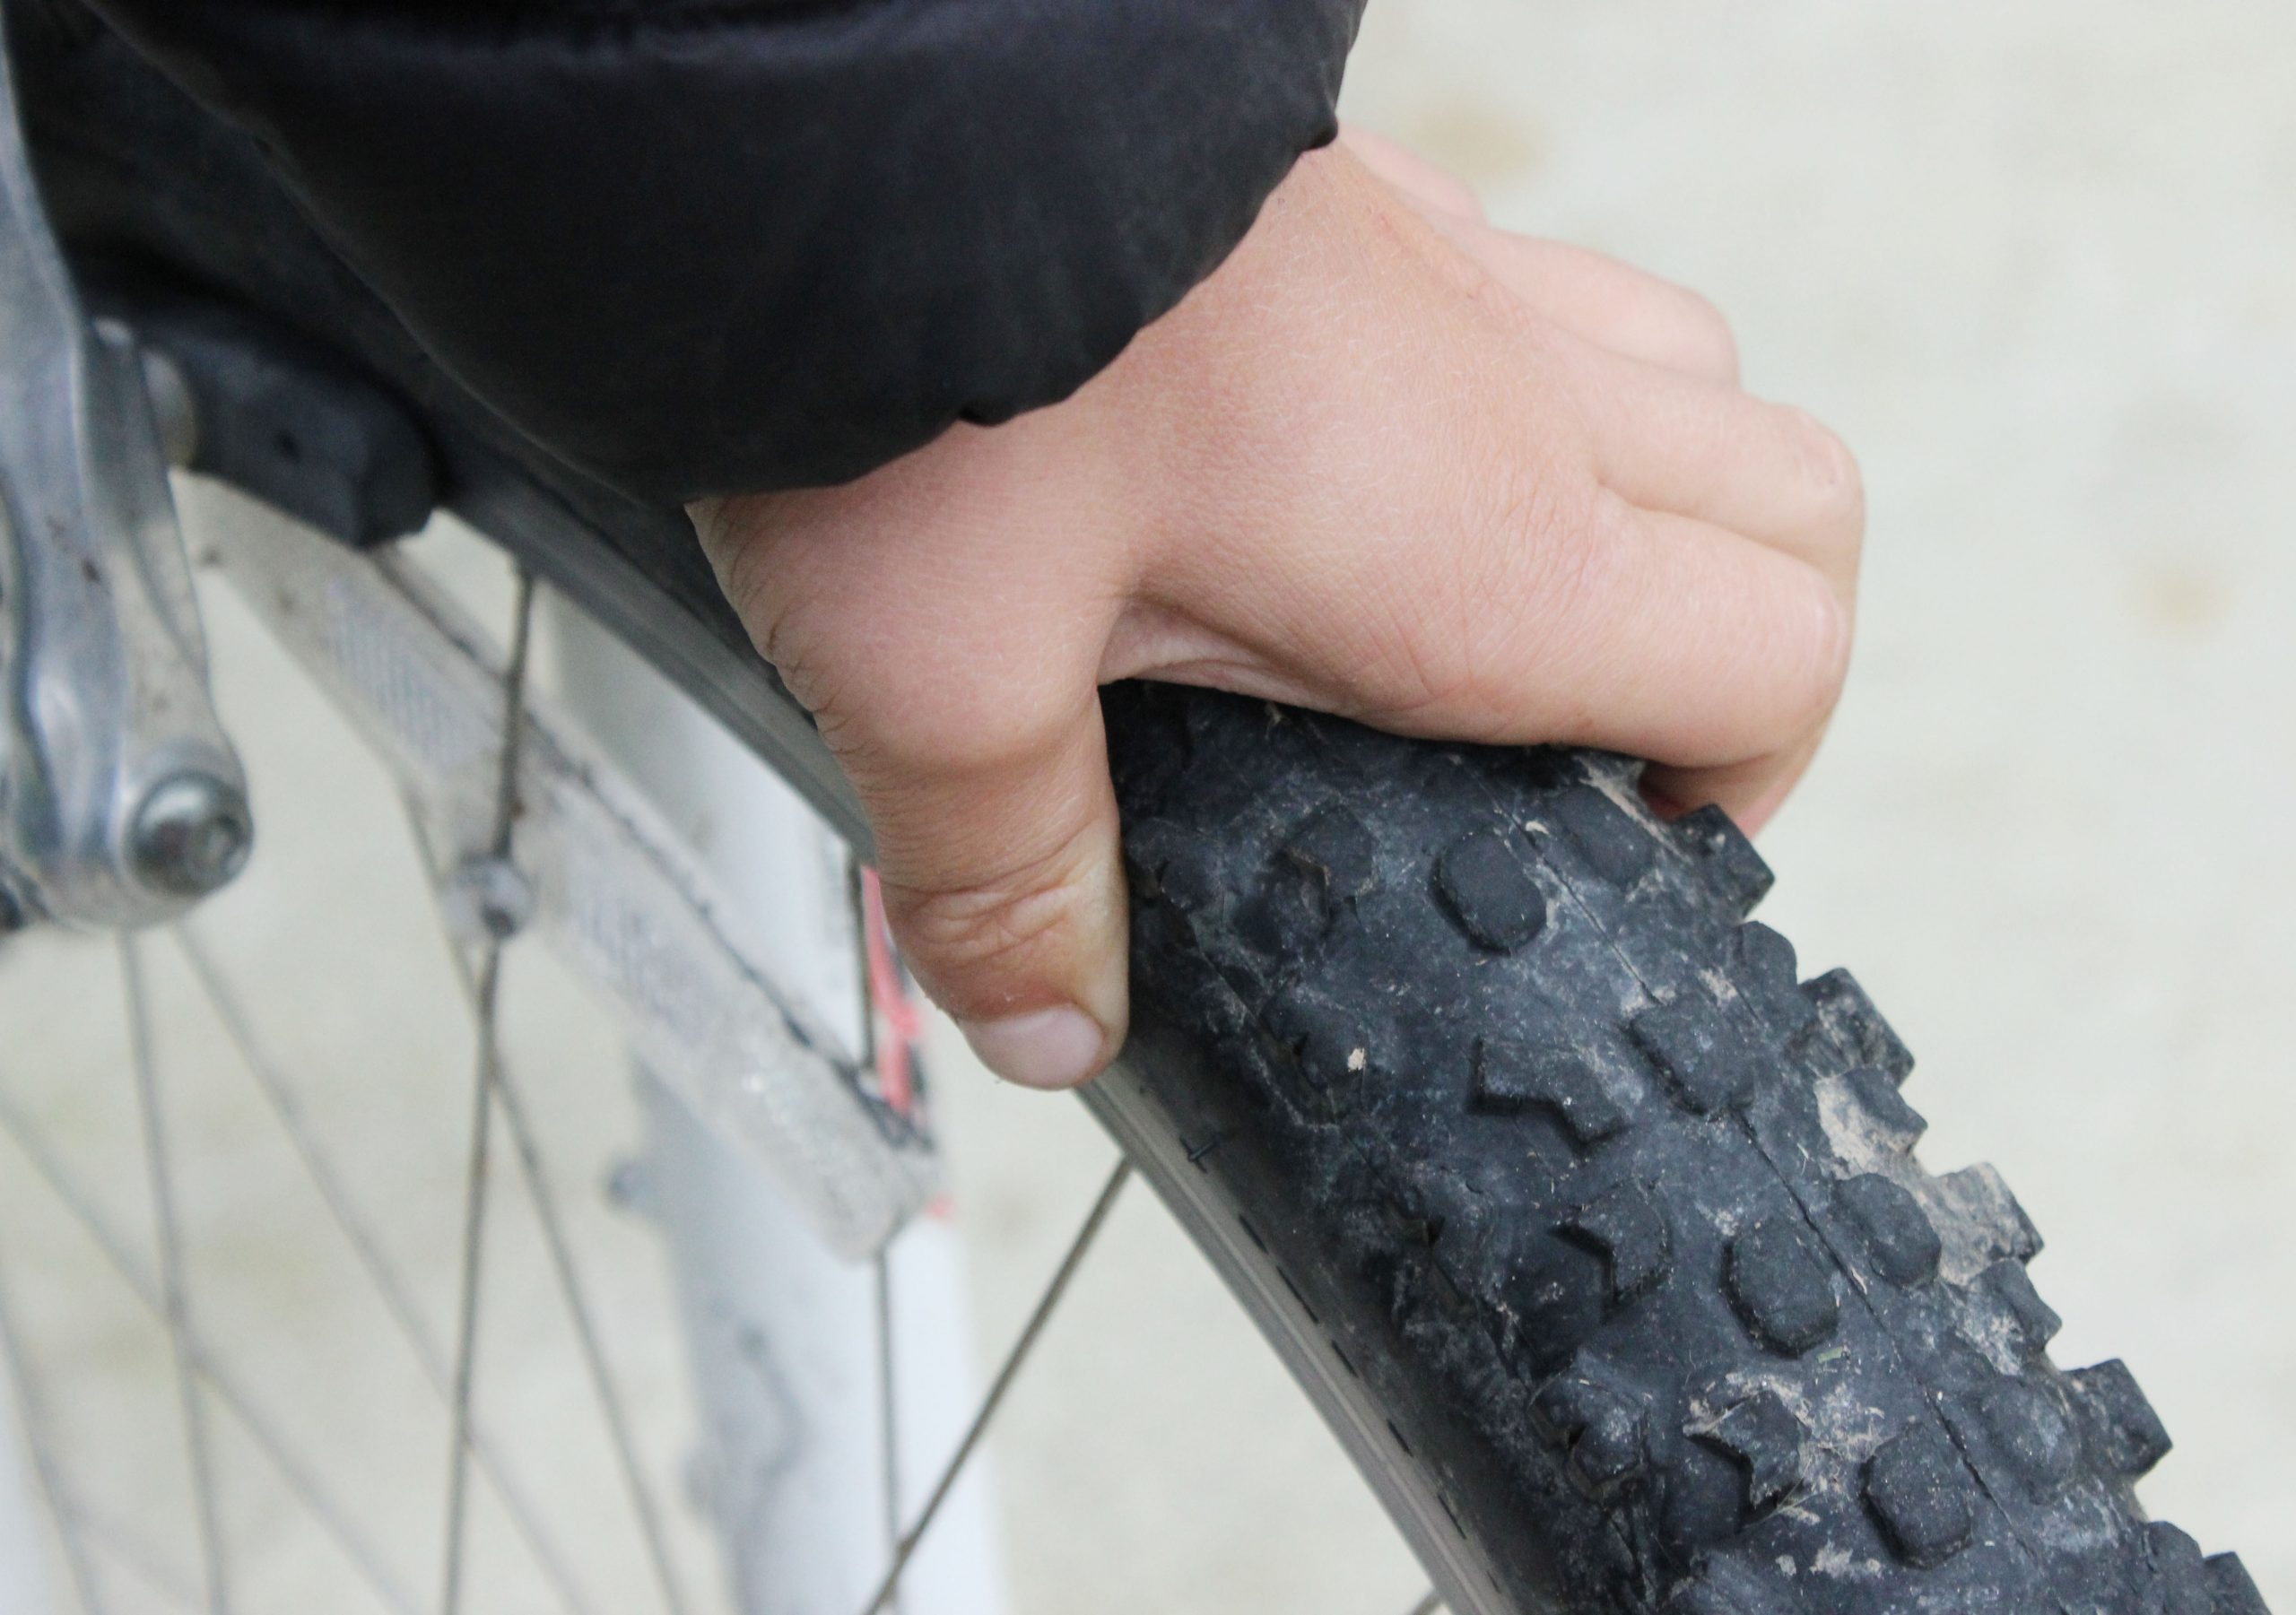
Tyre Pressure – Your tyre will naturally lose air over time so you must check it. How do you do this? Either give it a squeeze or push your thumb into your tyre and hopefully there won’t be too much “give”. It should be firm to pressure with enough air in it to keep your wheel protected while giving you a smooth, comfortable ride. Different types of riding requires different types of tyres and different tyre pressure. To learn what tyre pressure you need for your tyre look at the writing on the side wall. You are looking for a number that is followed by the letters PSI.
Checking the front brake – Lift the front wheel of your bike my grabbing your handlebars right in the middle. With your free hand reach down and spin the front wheel. It should spin freely without your brakes rubbing or slowing it down in any way. Pull the front brake lever (usually on the right). This should stop the front wheel and you should feel like your lever is responsive – you shouldn’t have to pull it a long way before anything happens.
Checking the back brake – Lift the rear wheel of your bike my grabbing your seat. With your free hand reach down and spin the rear wheel. It should spin freely without your brakes rubbing or slowing it down in any way. Pull the back brake lever (usually on the left). This should stop the rear wheel and you should feel like your lever is responsive – you shouldn’t have to pull it a long way before anything happens.
Tighten & Close
Levers – Levers need to be checked, are they tight & closed. A lot of bikes have Quick Release levers that are great but they can be bumped or knocked open.
Levers can be found on your seat post underneath your seat. Another common place is the centre of your wheels. Your seat can get knocked out of line and may need straightening check this while you are scanning your bike.
This is a seat post Quick Release lever in an open position.
A closed seat post Quick Release lever.
Helmet
Having a quick helmet check helps you to remember to wear a helmet. I have so often taken off down the road to realise as the wind whips through my hair that I have no helmet on.
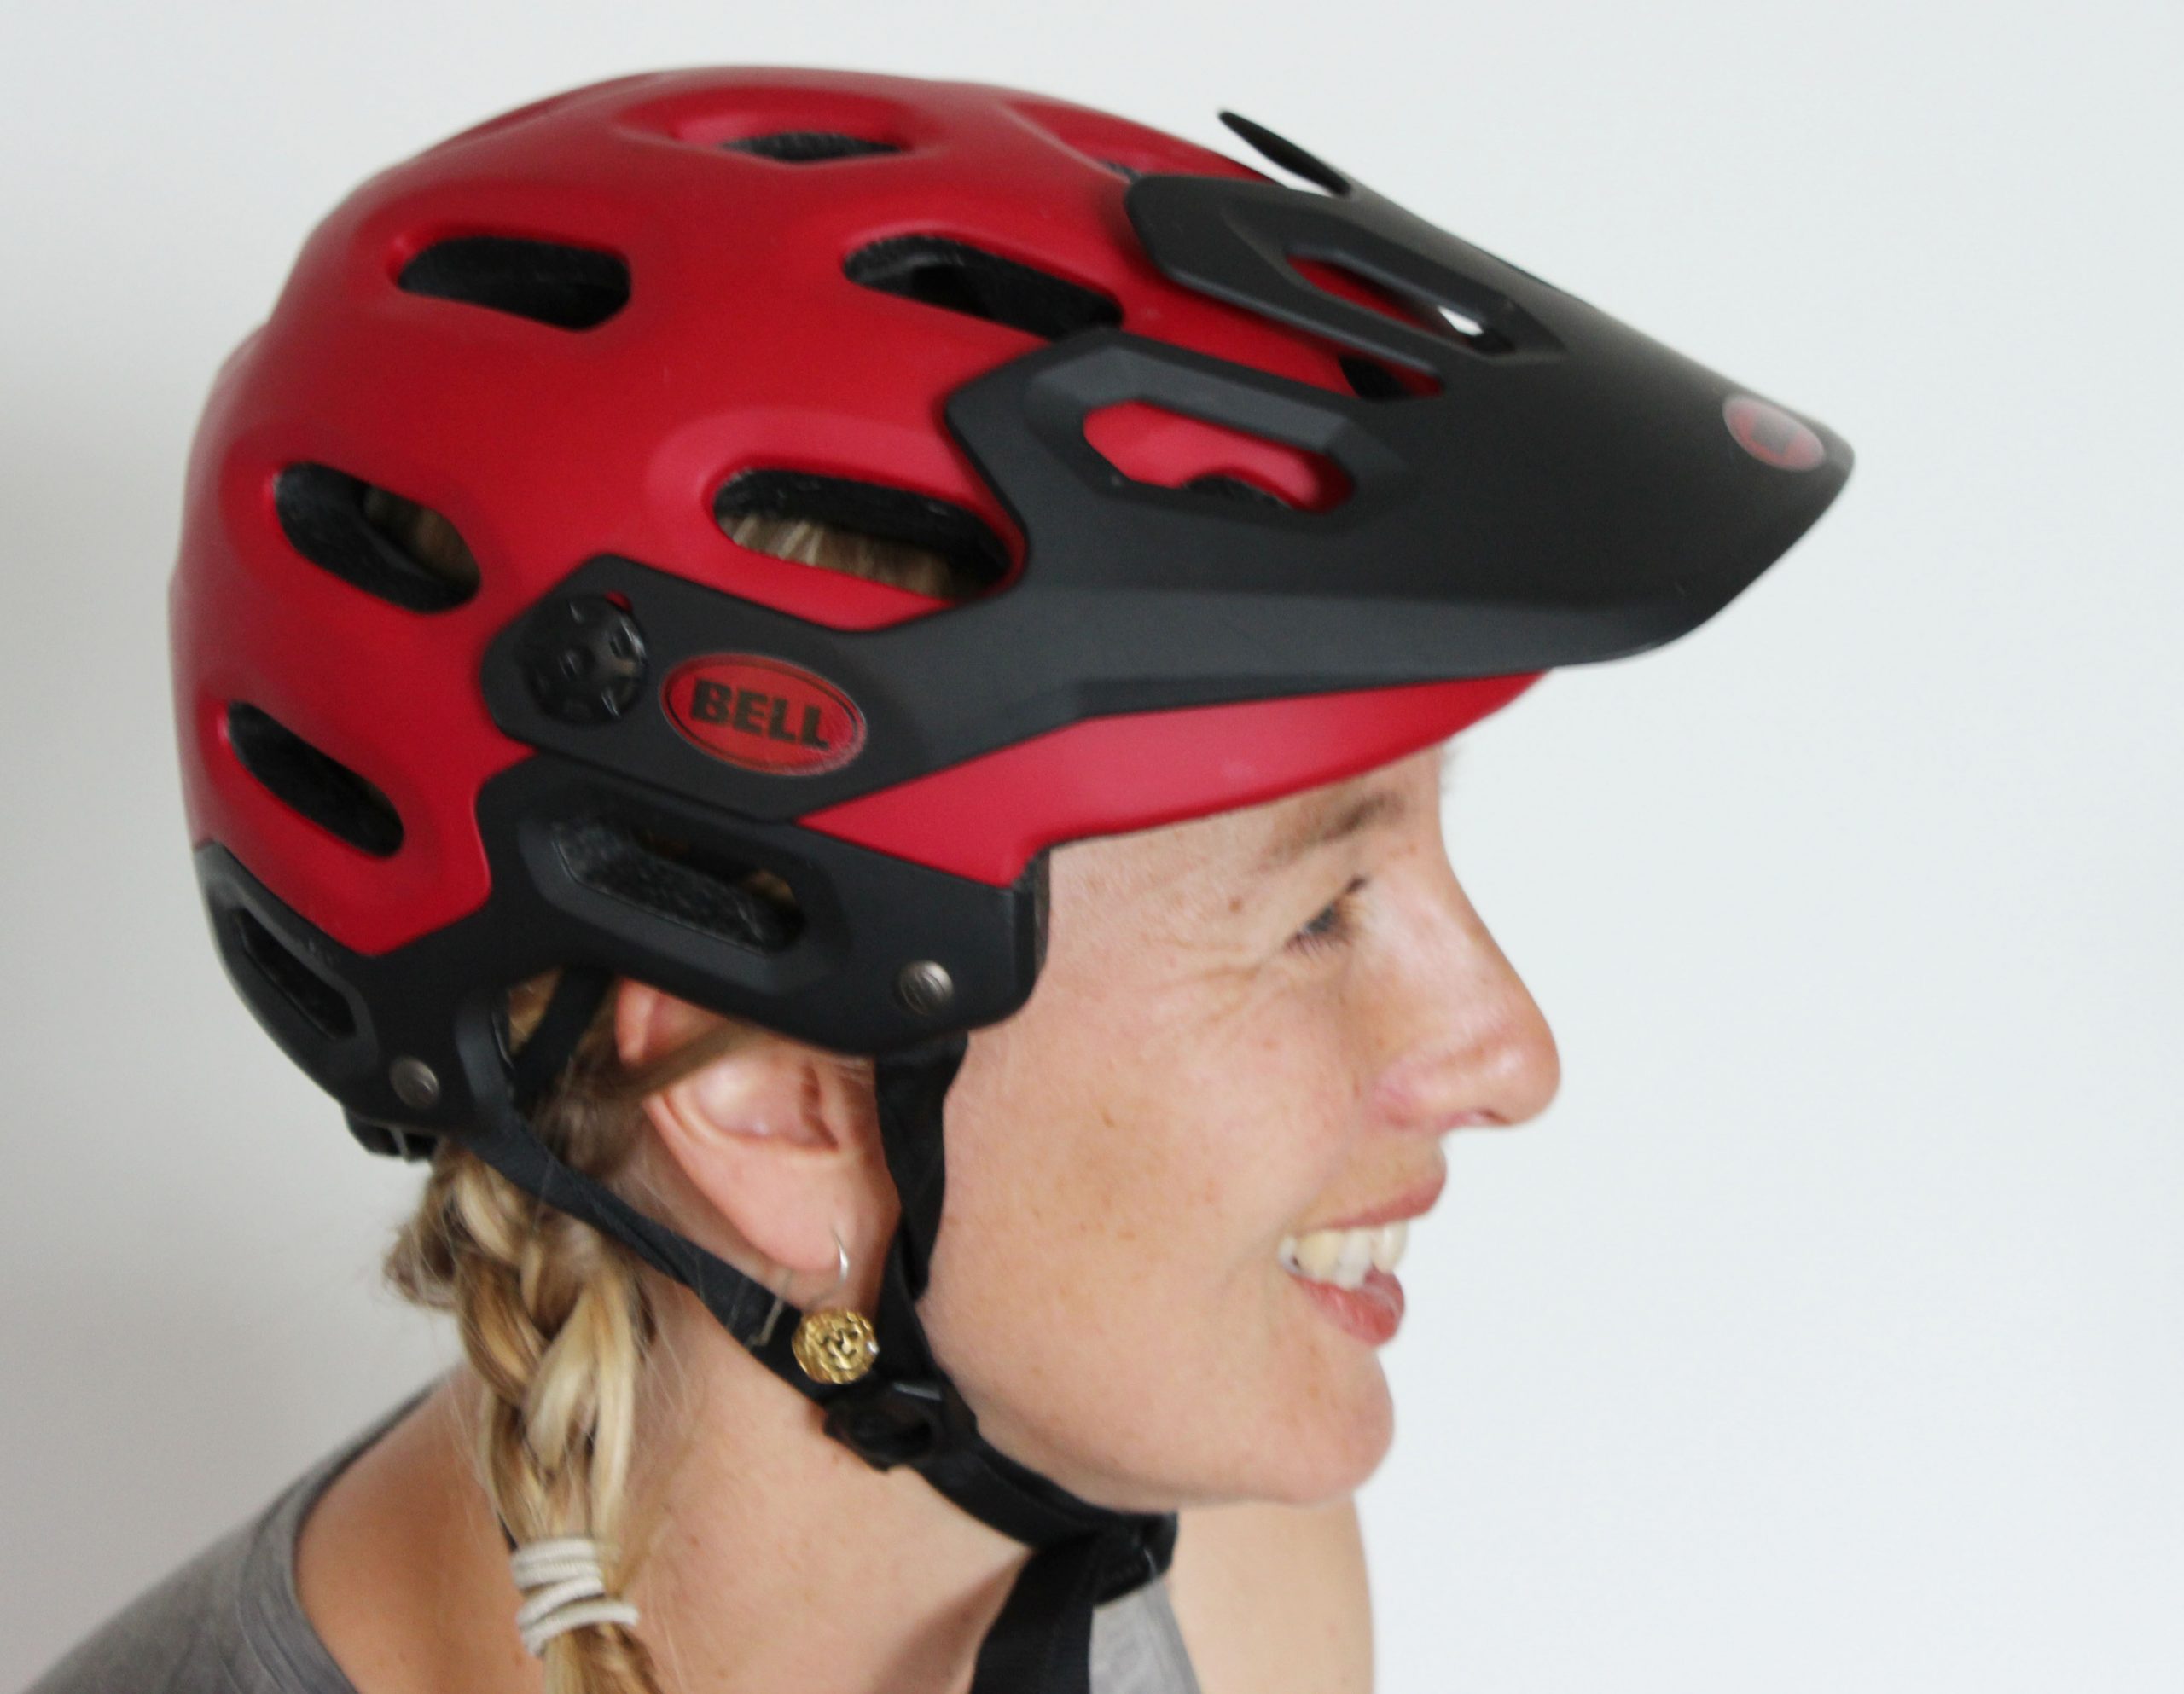
Low, level, snug & stable. This is how your helmet should be.
is it level – around the head, no tilting
is it low – sitting just above the eyebrows
is it snug – does it fit snug not tight on your head, are the v clips snug below your ears and is the chin strap snug under your chin
is it stable – use the palm of your hand to check forward, backward, side to side movement, the movement should be no greater than 2cm
Please note that this pre-ride bike check does not replace a more comprehensive bike assessment or bike maintenance that should be completed on your bike. How often this is done depends on how often you ride your bike. We recommend a thorough check at least once a month. It is also a good idea to do a comprehensive check before you go on longer duration bike rides like a bike tour or multi day riding holiday. It reduces the risk for any mechanical surprises.
Your bike riding success is different to others… use our stories and support, get the right solutions.
Read stories about NZ trails, tracks & parks. Find out what other families & riders are doing. Be inspired! Is this ride an option for you or your family?
A collection of stories that will help you learn about bike gear. goRide supporting you to get the right bike gear solution for the type of riding you do or want to do.
Stories in Types of Riding support you to learn about riding a bike in different environments. So you can successfully choose to ride more place, more often.
Support and inspire other riders and families to ride
Share your riding outings, adventures and experiences on our quick and easy question and answer forms. Join us in helping others ride bikes. All entries receive a free shipping coupon and go into our seasonal prize draw.
Early mornings, longer days, good weather, holidays, kids to entertain, less hustle and bustle… means it is a fantastic time to goRide, more places, more often. It’s a fantastic season of biking.
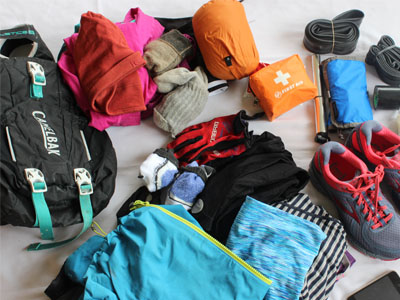
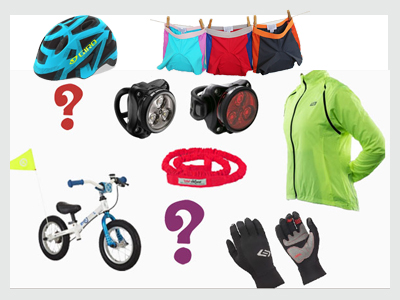
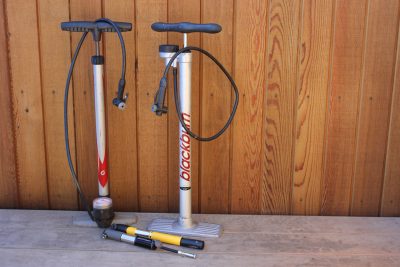
That is what goRide is planning over the holiday season. A bit of a break to goRide. Well nearly a break as we do have a couple of projects to complete over summer. One of them a goRide art project as part of the Konica Minolta BikeFest Nelson art competition. Here is a bit of a sneaky peak at some of the props.
Now what are we going to do with those props? What would you do? We promise to share the completed art project with you. For those of you from Nelson or visiting, you could view the bike art and take part in the Konica Minolta BikeFest from the 31st January to 15th February. Check out The Bikefest website for more details. A festival designed so there is something for everyone. There are a couple women specific events and some family events to consider like;
Mountain Bike Orienteering – Rabbit Island
Go By Bike Day- with a free breakfast
Kaiteriteri Family Adventure Race
Motueka Family Fun Ride
For goRide 2014 has been a year of planning, development and a launch. Thank you to the support and feedback that our friends and family have given.
goRide is looking forward to 2015. We are excited about what we have created with goRide and what we have planned to help support you to; get safe, get ready, get better, get together, get riding, get inspired so you can goRide more places more often. Enjoy this season of biking.
Merry Christmas from Annette and Jo at goRide and we look forward to sharing 2015 with you.
Thanks for reading. Used together our stories and resources support you to achieve and develop as a rider.
goRide is a shared journey, so we would like you to assist in guiding it along the way. Contact goRide. Your thoughts, comments or feedback are welcome. Thank you for being a part of the goRide way.
Wearing a Bike Helmet is law and vitally important for your safety. Ride with confidence knowing you have the ‘right’ bike helmet for the type of riding you do.
Supporting you and your family to SMILE when you ride.
A helmet that fits, matches the type of riding you do, a helmet you feel good in and is comfortable to wear
Helmet fit
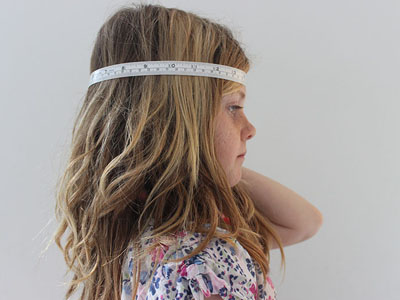
The size of a Bike Helmet refers to your head circumference. Some helmets come in one size others a range of sizes.
YOU need to find out your head circumference. To measure your head circumference place a soft tape measure around your head 1 cm above your eyebrows and make sure the tape is level all the way around the head. Take the measurement in cm.
As sizes of bike helmets suit a range of head circumference. Having ability to adjust the fit.
How you adjust the fit varies depending on the helmet. Generally through straps and fastener at the back of the helmet. Some helmets also come with different thicknesses of foam pads to allow you to adjust the helmet to fit your head size.
All Bike helmets sold in New Zealand need to comply to a safety standard. So it doesn’t matter what the cost or style of the helmet if it is sold in New Zealand it will comply to the minimum standard.
We think there is more to consider when it comes to safety
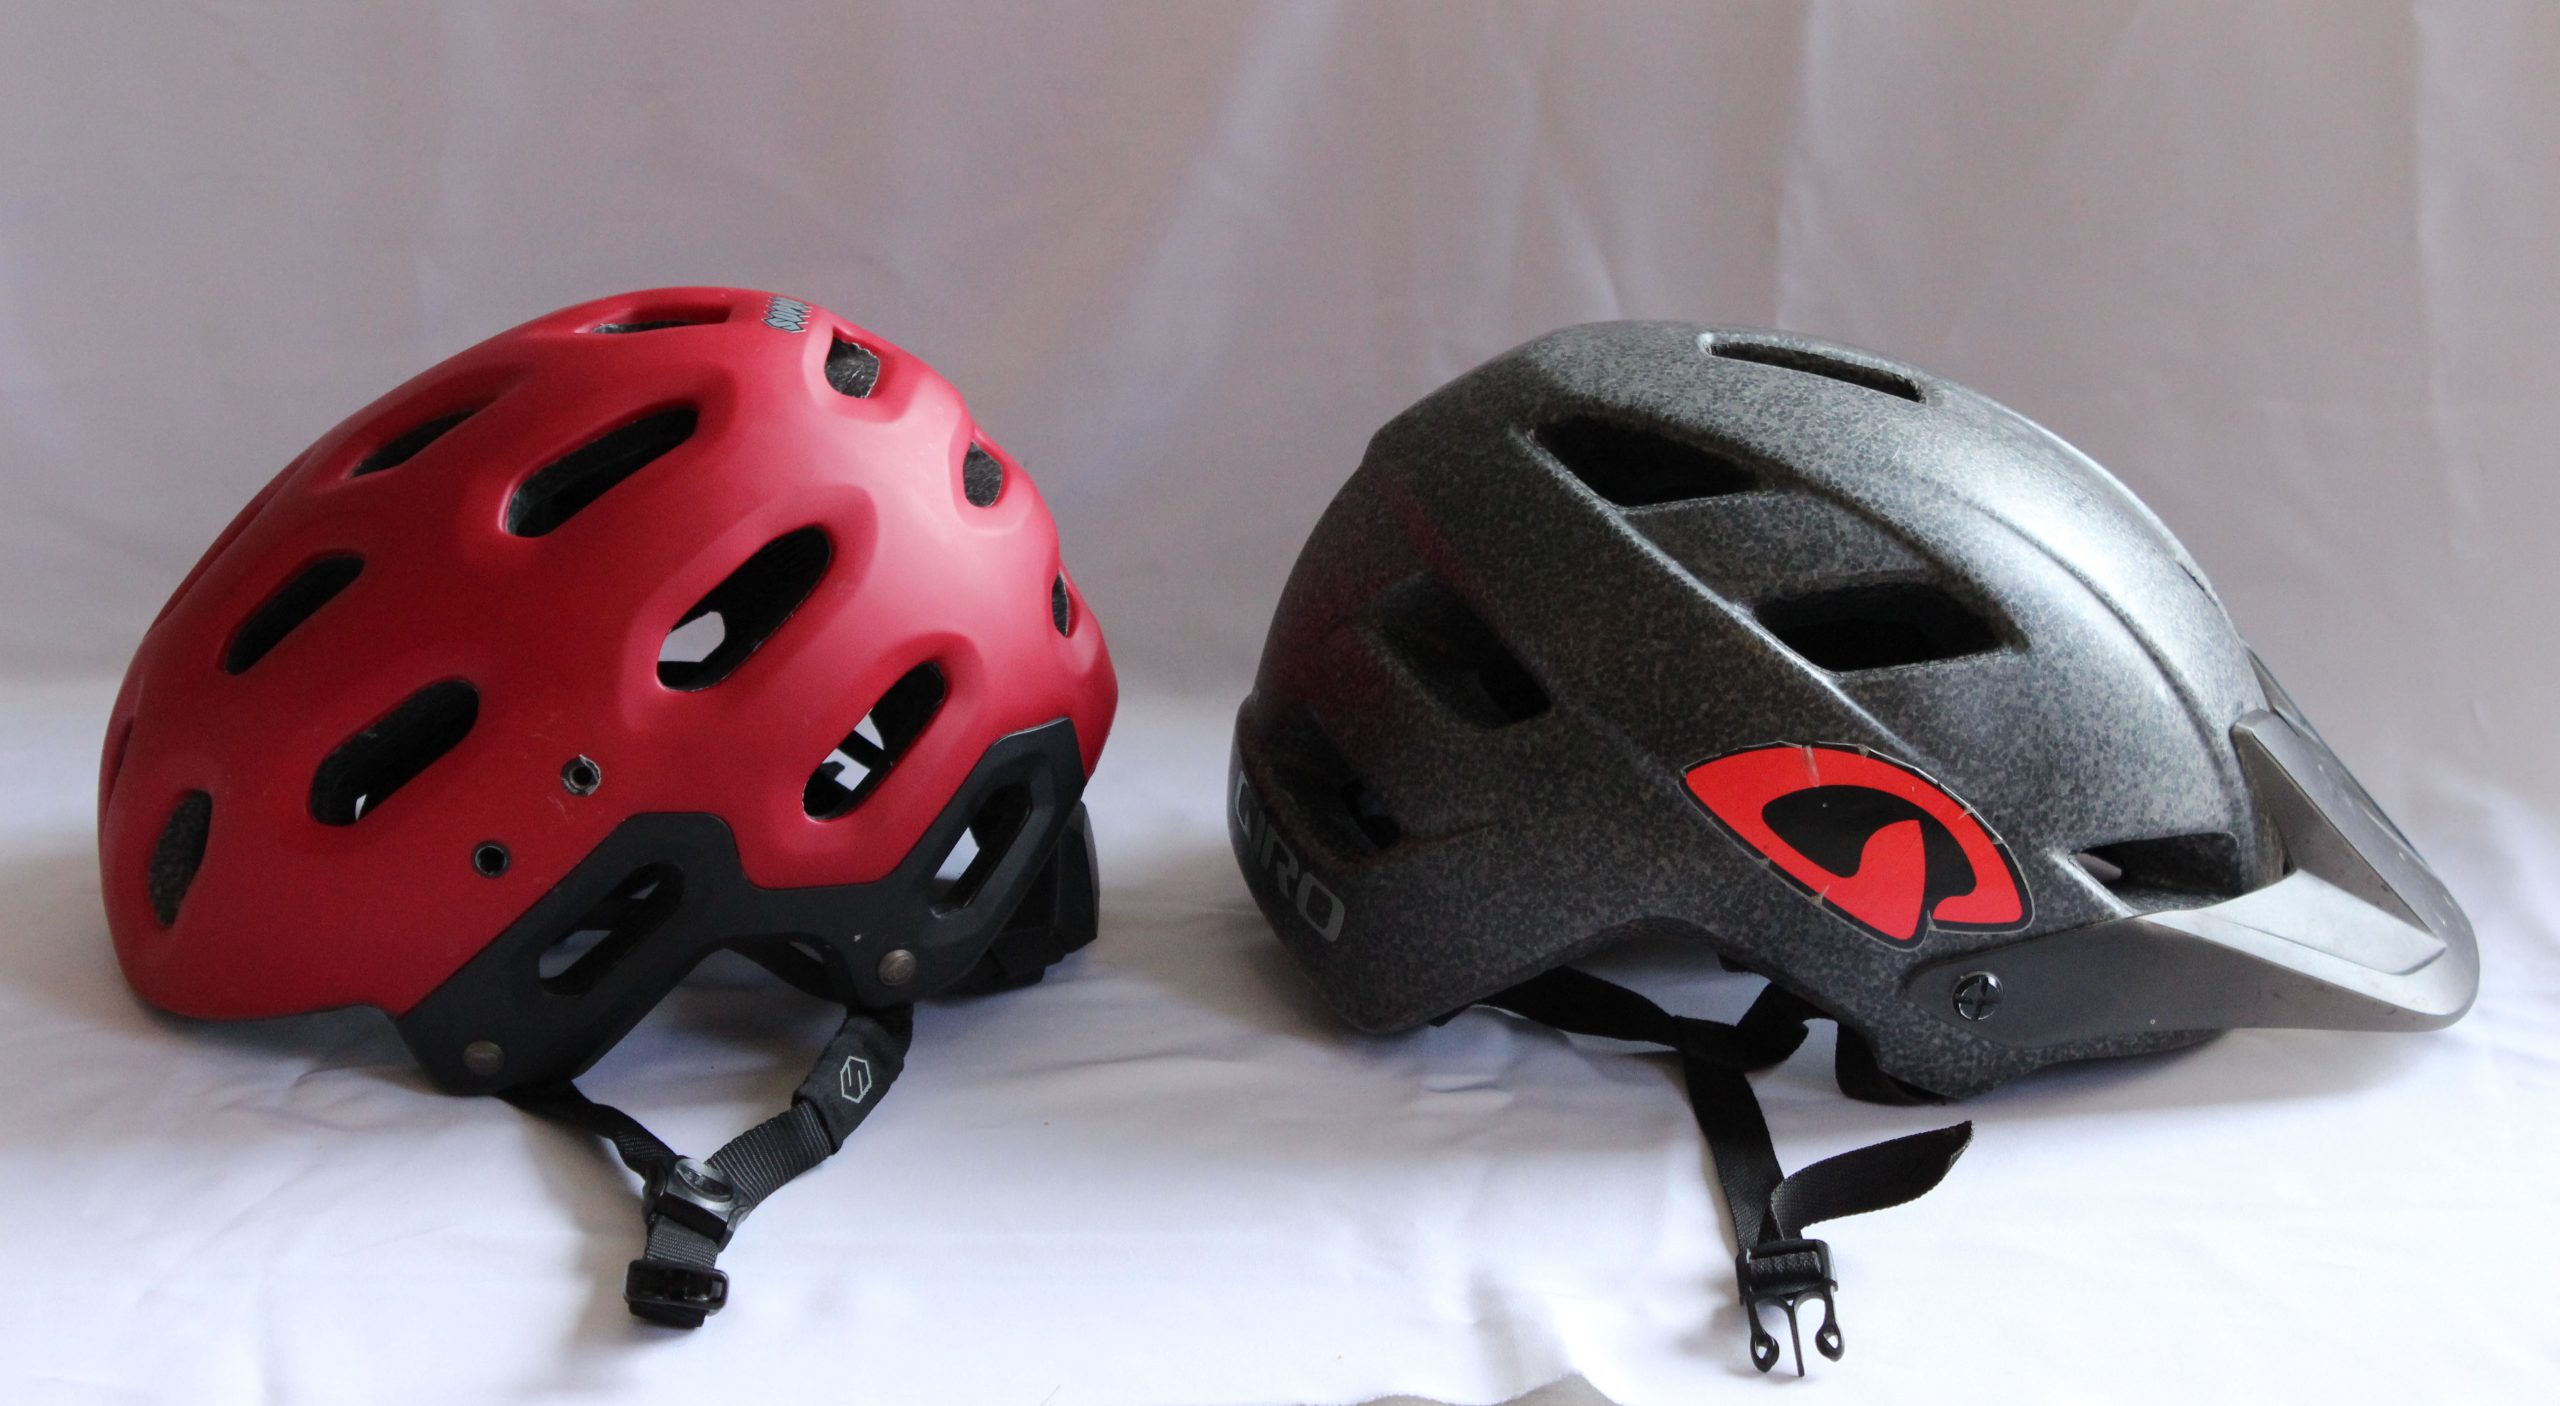
At goRide we believe one of the most important safety features to consider when purchasing is the shape of the bike helmet. We suggest a shape that gives you good head coverage and is smooth and round like your skull/head.
Read what the Helmet Safety Institute recommends:
The more of the head that is covered by the helmet the better (consider the head as starting from the bump at the top of the back of the neck, around the top of the ears and to the top of the eyebrows. The rest really is your face).
They prefer the more round smooth style helmet , basically round like your head. No protrusions. Being round with no protrusions it will slide better along a surface, reducing the peak forces with sudden stopping and isolated points of impact from protruding shapes also reducing the risk of snagging. All factors that may result in a head and/or neck injury.
Other considerations for safety is the reflective capacity of the Helmet. A bright colour and reflective strips can help to make YOU be more visible.
A helmet that you are comfortable in
Friction points – are there any friction points? Do you feel points or areas of rubbing or tension? If you have the correct sized helmet it is more than likely to be an adjustment issue. You do need to invest a bit of time when you first get your Helmet making the necessary adjustments so it is comfortable and will stay on and over your head in an impact.
Weight – this can be particularly important to consider if the helmet is for a child. However most helmets today are generally reasonably lightweight. The harder shell skate style helmets are little heavier.
Ventilation – does the helmet have good ventilation or do you get hot and sweaty under there. The foam liner is an insulator, so it will get hot under there unless there are some holes to allow air flow. You will get better air flow from holes located at the front of the helmet. Some ventilation holes will have mesh over them called bug nets to keep those bugs out. Holes reduce the strength of the helmet but manufacturers work to overcome this and ensure that it will meet the required standards
Visors – Visors are designed to help protect you from the sun and rain. Though they are a protrusion to out round helmet, so removable visors are advised.
Colour and Graphics on the Helmet – This is really all about looks, but bonding with your helmet is important. In fact the introduction of skate style helmets into the riding world was not targeted at better performance but that it provided a wonderful base for graphics and a helmet with personality. Choose a helmet that you will enjoy and stand out in -a colour and graphis that reflect you.
Matches the type of riding you do
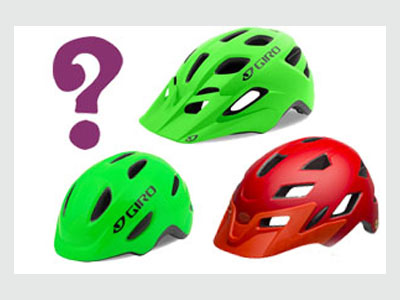
All bike helmets are made slighlty differently. By matching your bike helmet to the riding you do you know that you will get the level of protection that is ideal for your riding,
goRide provides Bike Helmets to suit your riding, including traffic riding, e-biking through to all levels of Mountain Biking. Learn your options:
Most bike helmets do not respond well to being thrown on the ground, stood on or run over. Damage to bike helmets is not always visible to the human eye, so the best piece of advice is take care of your bike helmet. Have a process of care in place, like – you must not drop your helmet. When you are finished using your helmet store it in ‘this’ safe place (that is not hanging over the handlebars of their bike). It is important to check for damage to the straps clips, shell and inner foam of the helmet, especially if the helmet is not “treated with care”. See Helmet Care for more information.
We also advise that you use a new helmet and not a secondhand helmet as you are unaware of the damage to a helmet.
Your bike riding success is different to others… use our stories and support, get the right solutions.
Bike Helmets
Stories and Support – Bike Helmets. Enjoy all our Bike Helmet stories on one easy to navigate page
Bike Helmet Buying Guide
Get tips for buying the right Bike Helmet for the type of riding you do. Learn about fit, sizing and features. Use our Buying Guide and get the right solution.
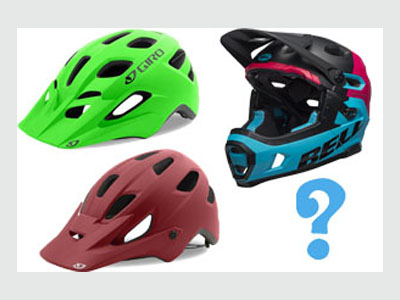
Mountain Bike Helmet Buying Guide
What is the best MTB helmet for the type of riding you enjoy? There are many factors to consider in your decision. Use our Buying Guide to get the right bike helmet solution.
Read stories about NZ trails, tracks and parks. Find our what other families and riders are doing. Be inspired! Is this ride an option for you or your family?
Caring for your Helmet
Care for your helmet so you get the safety you need.
Want more from your riding?
Be supported to Ride as a Family, Progress Your Riding and/or receive Seasonal Inspiration. So you can SMILE when you ride.
Helmets do deteriorate over time. To get the best out of your helmet …take care of it Do regular checks of your helmet so you can understand when you may need to replace your helmet.
Supporting you and your family to SMILE when you ride.
Shell – Look for cracks or abrasions. Are there any cracked edges. Check for fading, UV exposure can make the shell brittle. Any compromise to the integrity of the shell will mean it may not hold together in an impact.
Liner – The foam. Press carefully over the shell of the helmet to see if there is any movement. Some helmets there will be no movement others a little movement, you are looking for any area that there is a variation in movement compared to the rest of the helmet. An area of greater movement indicates damage to the foam under the shell. Turn over the helmet and check the liner for cracks or compressed foam. If you suspect any area of compression check and measure the thickness of the foam at the same spot on the other side of the helmet.
Straps/buckles/clips and fasteners – check for wear and tear. Any loose stitching or fraying. Check buckles/clips and fasteners do they work and hold – buckle or fasten and then give them good forceful tugs and twists to check they don’t come apart. Think about the force they would be under during an impact or multiple impacts eg car and road. You want to mimic that force, you need to know that they will work to keep that helmet securely on your head in an impact.
Key point: All foams immediately or eventually deteriorate under impact. This is why it is suggested you never buy a secondhand helmet and you replace your helmet following impact. An accidental drop of your helmet is unlikely to cause damage however it is a good idea to avoid dropping your helmet due to the potential damage. Hard to get the kids working with you on that one but giving them some information and understanding of why it is important, helps.
Check the outside and the inside of your helmet. Make sure everything is in quality condition
Storing your Bike Helmet
Store in a safe place directly away from sunlight. We suggest to avoid hanging your helmet up by the straps. This will help avoid the position of the straps moving. Requiring you to adjust the helmet less. Store it in a secure place where it is not likely to fall if it is knocked; a shelf or a helmet bag. Avoid over the handle bars – this is more likely to cause damage and movement of the straps.
Cleaning your Bike Helmet
Not an item that needs cleaning as regularly as your bike itself however helmets can start to store dirt and grit that may effect their performance especially the buckles and fasteners. So its a good idea to check now and then and add to your cleaning routine when required. The Helmet can be washed in soapy water and if the pads are removable you can machine wash them on a gentle cycle but do not tumble dry.
Your bike riding success is different to others… use our stories and support, get the right solutions.
Bike Helmets
Stories and Support – Bike Helmets. Enjoy all our Bike Helmet stories on one easy to navigate page
Bike Helmet Buying Guide
Get tips for buying the right Bike Helmet for the type of riding you do. Learn about fit, sizing and features. Use our Buying Guide and get the right solution.
Mountain Bike Helmet Buying Guide
What is the best MTB helmet for the type of riding you enjoy? There are many factors to consider in your decision. Use our Buying Guide to get the right bike helmet solution.
Read stories about NZ trails, tracks and parks. Find our what other families and riders are doing. Be inspired! Is this ride an option for you or your family?
Want more from your riding?
Be supported to Ride as a Family, or receive Seasonal Inspiration. So you can SMILE when you ride.
We are good at wearing bike helmets…however we often don’t take the time to ensure our helmet fits correctly. A check that needs to happen every time you ride. Learn about the correct fitting of your bike helmet.
Supporting you and your family to SMILE when you ride.
2 – the helmet should sit level on the head. The front of the helmet should sit no more than 2 finger breadths above the eyebrows.
v – the side straps make a V with the adjustable clip forming the bottom of the V just below the ear lobe.
2 – you should be able to get a maximum of 2 fingers under the chin strap when fastened. The straps should not be twisted. You should definitely not be able to pull the chin strap up and over the chin.
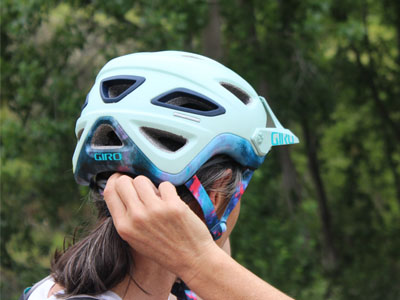
A lot of helmets come with the capacity to tighten at the back of the head (this is known as the rear or occipital fastener/stabiliser). The adjustable mechanisms used for tightening will vary between helmets. Whatever the mechanism this aids in getting the helmet to fit snuggly to our different sized and shaped heads. Use in conjunction with the straps to get a snug fit to your head.
Use the 2V2 Rule.
Wriggle Test
Now we are going to wriggle the helmet to make sure there is only a little movement. Place the palm of your hand on the front of the helmet, push up and backward to see if you can expose the forehead. Repeat at the back pushing up and forward. Also repeat on each side of the helmet to check for side to side movement. If the helmet has a lot of movement (more than 2cm) consider if you have everything adjusted correctly as described above or whether the helmet is the correct size. Your helmet needs to stay on and over your head during an impact. Often there may be more than one impact in an accident e.g. impact into a car and onto the road.
Wriggle test
Pre – ride Bike Helmet Check
Great, finished your set up? Now a quick pre-ride check , yes a helmet check that you do before you goRide.
is it level – around the head, no tilting
is it low – sitting just above the eyebrows
is it snug – does it fit snug not tight on your head, are the v clips snug below your ears and is the chin strap snug under your chin
is it stable – use the palm of your hand to check forward, backward, side to side movement, the movement should be no greater than 2cm
LEVEL, LOW, SNUG, STABLE
Your bike riding success is different to others… use our stories and support, get the right solutions.
Bike Helmets
Stories and Support – Bike Helmets. Enjoy all our Bike Helmet stories on one easy to navigate page
Bike Helmet Buying Guide
Get tips for buying the right Bike Helmet for the type of riding you do. Learn about fit, sizing and features. Use our Buying Guide and get the right solution.
Mountain Bike Helmet Buying Guide
What is the best MTB helmet for the type of riding you enjoy? There are many factors to consider in your decision. Use our Buying Guide to get the right bike helmet solution.
Read stories about NZ trails, tracks and parks. Find our what other families and riders are doing. Be inspired! Is this ride an option for you or your family?
Want more from your riding?
Be supported to Ride as a Family, Progress and/or receive Seasonal Inspiration. So you can SMILE when you ride.
How your Bike Helmets is constructed influences the performance of the Helmet. Learn about the components of a Bike Helmet and how that effect performance.
Supporting you and your family to SMILE when you ride.
A Bike Helmet is designed to reduce impact by dispersing the impact energy. Though we are talking milliseconds the impact force is dispersed over a greater timeframe so the helmet is working to avoid that sudden stopping force on impact that may result in a brain injury. The success of a Bike Helmet is based on how the components of a bike helmet disperse the impact.
The 4 components of a helmet are; The Shell, The Inner ( Liner), MIPS ( if your helmet is equipped with it) and the Straps/ Buckles/ Pads and internal systems – everything that helps keep the helmet on and over your head in an impact.
Peak forces when not wearing a helmet.
Peak forces when wearing a helmet.
The 4 components of a Bike Helmet
The Shell – the outer hard part of the helmet.
What is it made of? A type of plastic. The degree of hardness of the plastic can vary . The skate style helmets generally have a harder plastic than the more classical bike helmet. Alternatively they can be made of a composite (like fiberglass or lightweight carbon fiber.)
Function – The shell holds the helmet together and protects the foam liner. It takes the initial impact and allows your head to slide along the surface preventing the forces involved in abrupt stopping.
Key point: In the less expensive helmets the shell may be glued to the liner, some are taped around the edges, but not all. In the more expensive helmets the plastic shell is molded to the liner. The later helmet, is stronger though manufacturers take advantage of this increased strength by putting more and larger ventilation holes in the helmet. The harder shells make for a stronger shell but adds weight to the helmet.
The Liner – the softer inner part of the helmet
What is it made of? Generally a foam called EPS (Expanded Polystyrene). This is where a lot of research and development is focused and we are seeing development of different foams. The foam can have other materials buried within it to help strengthen it.
Function – This is the key part of the helmet, where the energy of the crash is managed.
Key point: All foams immediately or eventually deteriorate under impact. This is why it is suggested you never buy a secondhand helmet and you replace your helmet following impact. Note: there are foams that do not deteriorate after impact and we are starting to see them in the market, but there is still progress to be made.
MIPS ( Multi Impact Protection System) – If your helmet is equipped with MIPS it will sit between the liner (foam) and your pads.
What is it made of? Plastic.
Function – To support a reduction in rotation forces during an impact being transferred to your brain
Technology advances are improving in the world of helmets with the recent introduction of MIPS (Multi-directional Impact Protection System). MIPS gives better protection in sudden angled impacts. It copies or mimics the human brains protection layers – the skull and a layer of fluid underneath it (cerebral spinal fluid) by adding a low friction liner suspended from the interior foam casing by an elastomeric attachment system. What this means is that the MIPS allows independent rotation of the outer helmet. Redirecting impact energy means that less energy is being transferred onto your brain which means more protection.
Key points: Not on all helmets. Often has a yellow label of MIPS on the helmet and on the protective layer itself.
Straps, buckles and clips. Pads, Occipital fastener and internal ring systems.
What is it made of? Nylon, polypropylene, foam and plastics.
Function – To allow adjustment to ensure the helmet fits snuggly to your head and stays there during an impact or multiple impacts (e.g. car and road)
Key points: Check that you can use and manipulate any fasteners easily, and they are strong and hold when pulled/tugged/twisted.
Your bike riding success is different to others… use our stories and support, get the right solutions.
Read stories about NZ trails, tracks & parks. Find out what other families & riders are doing. Be inspired! Is this ride an option for you or your family?
A collection of stories that will help you learn about bike gear. goRide supporting you to get the right bike gear solution for the type of riding you do or want to do.
Stories in Types of Riding support you to learn about riding a bike in different environments. So you can successfully choose to ride more place, more often.
Support and inspire other riders and families to ride
Share your riding outings, adventures and experiences on our quick and easy question and answer forms. Join us in helping others ride bikes. All entries receive a free shipping coupon and go into our seasonal prize draw.
Ever hit a bump or stone and thought “oh that didn’t feel good”. Whats the likely cause? Under inflated bike tyres. It’s important that your bike tyres are pumped up correctly so that they function well.
Supporting you and your family to SMILE when you ride.
If they are really flat you can damage your rim which wrecks your wheel
Your tyres naturally lose air over time so it’s a good idea to have a routine in place where you check them. goRide recommends a pre-ride check before every ride. This check should include a squeeze test of your tyres.
You will find we have lots of stories on The Bike Tyre. These stories explain the terms and tasks introduced in the Pumping Up A Bike Tyre video and should be read to help with your understanding . If you’re not sure how to pump up your bike tyre check out our video…
Please note that any pre-ride bike check or tyre inflation does not replace a more comprehensive bike assessment or bike maintenance that should be completed on your bike. How often this is done depends on how often you ride your bike. We recommend a thorough check at least once a month. It is also a good idea to do a comprehensive check before you go on longer duration bike rides like a bike tour or multi day riding holiday. It reduces the risk for any mechanical surprises.
Your bike riding success is different to others… use our stories and support, get the right solutions.
Bike Tools to Carry
All our stories on bike tools to carry on one easy to navigate page
How to Buy a Bike Tube
It is important to carry a spare bike tube with you incase of a puncture. Make sure you are carrying the right bike tube for your bike.
Mini Bike Pump
A mini bike pump a tool to carry. Learn what it is, why you need it and how to use it
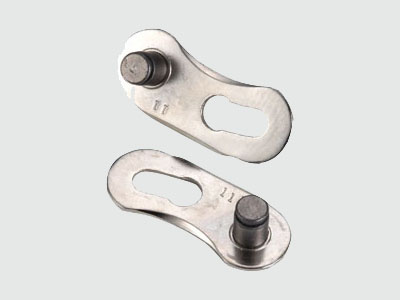
Spare Chain Link
A spare chain link a tool to carry. Learn what it is, why you need it and how to use it
Puncture Repair Kit
Puncture Repair Kit a Tool to Carry. Learn what it is, why you need it and how to use it
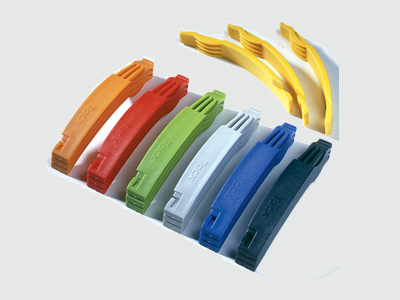
Bike Tyre Lever
Bike Tyre Lever a Tool to Carry. Learn what it is, why you need it and how to use it
The Allen Key
An Allen Key a tool to carry. Learn what it is, why you need it and how to use it
Want more from your riding?
Be supported to Ride as a Family and/or receive Seasonal Inspiration. So you can SMILE when you ride.
Let’s learn some jargon. The kind that will help you when you’re standing in front of the bike mechanic. Off he goes with all his words about bike parts and then he asks a question. What???? Now don’t get worried. Yes, there are a lot of words involved but hey you only need to learn about your bike and what you think will help you. Remember, at your pace, in your time, the fun, supported way – the goRide way.
We are going to start with your bike tyres. The tyres are the part of your wheel that will give you a smooth ride … but only if they are working well.
A goRide SERIES ON GETTING TO KNOW BASIC BIKE PARTS – The Bike Tyre.
To follow is a basic overview of your bike tyre system.
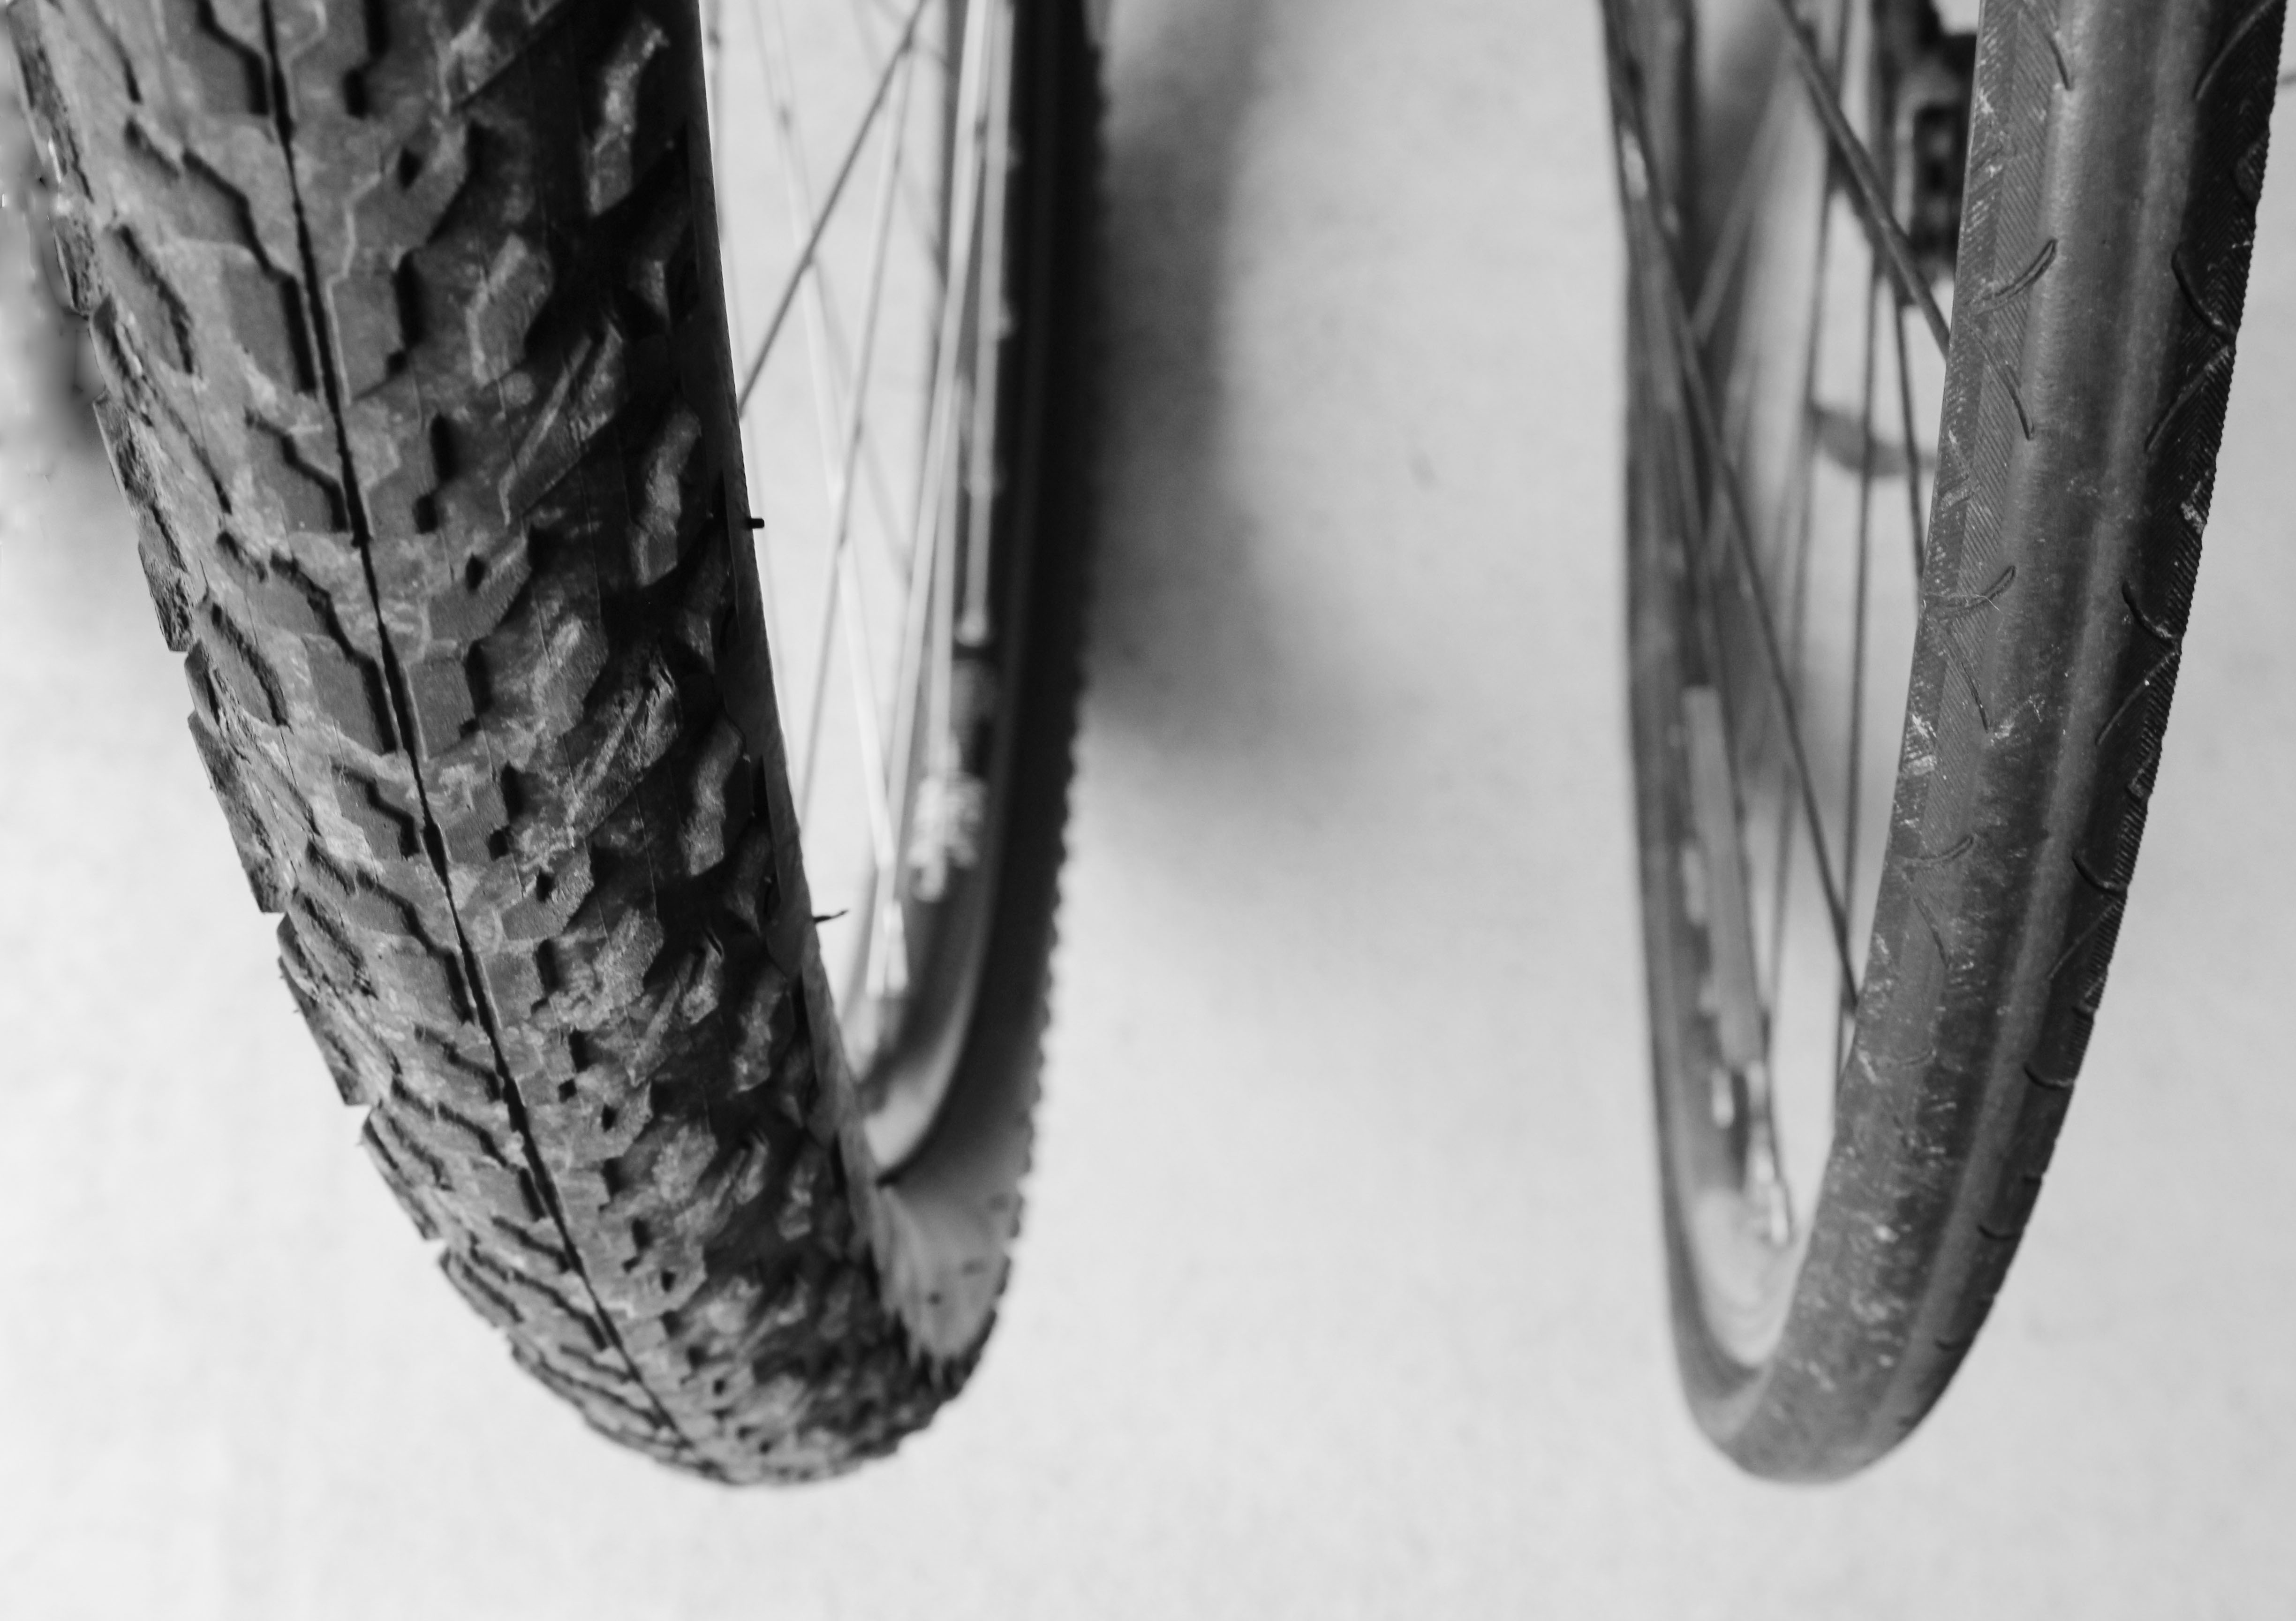
The Bike Tyre – is made up of predominantly rubber with a fabric casing where it sits on the rim. It comes in different sizes to match the diameter of your wheel e.g. 26, 27 inch or 29er. Also in different widths as well as different treads (that is the rubber patterns on the outer part of the tyre.)
The Tube – sits inside the tyre. Embossed on the side wall of your tyre you will find all the information you need to know about your tube. What size is your tube? This is represented in diameter x width e.g. 26 x 2.0 (see the picture below). The pressure to inflate your tyre to is called PSI (pounds per square inch). You will generally find a range from a minimum to a maximum PSI. Check out the picture which shows a minimum 40PSI to a maximum 80PSI. For more information see our story How to buy a bike tube
Please take a look through the slider to see bike tubes, tyre size and PSI.
Tube size
The Valve – is attached to the tube and it sticks through the rim of your wheel. You will either have a presta (skinny) or schrader (fat) valve. Also note that a presta valve has a nut on the tip that must be unscrewed to allow air to flow – the valve is where the air goes in to inflate your tyre.
A great way to get familiar with the parts of your bike is to clean it. So why not start by cleaning your bike tyres, everyone loves bubbles!
Thanks for reading. Used together our stories, resources & products support you to achieve and develop as a rider.
goRide is a shared journey, so we would like you to assist in guiding it along. Contact goRide. Your thoughts, comments or feedback are welcome. Thank you for being a part of the goRide way.[/themeone_section]
Do you have a clean bike? Do you clean it regularly, or at all? If not, you are not alone. However, a clean bike looks good, performs better, lasts longer and is easier to maintain. I know what you are thinking… another thing to clean! The positives – it is outside, soapy water is involved and it could be fun. This is a great thing to do with your kids for all sorts of reasons. The main one being it teaches them to look after their bike.
Cleaning the different parts of the bike allows you to familiarize yourself with your bike. As you clean you can check the different parts of your bike and ensure it is safe and working properly this leads to better performance from your bike. At goRide we believe if you clean your bike you will get to know and enjoy your bike.
A goRide SERIES ON CLEANING DIFFERENT PARTS OF YOUR BIKE – The Bike Tyre
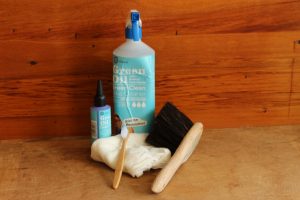
If you can, remove your wheels from your bike otherwise the easiest thing to do is flip it upside down. Check out Bike Parts – The Tyre and What does it do? – The Tyre to familiarize yourself with what you are about to clean. Then grab a cleaning kit and lets get down to business.
Rinse off
Lather up
Wipe down
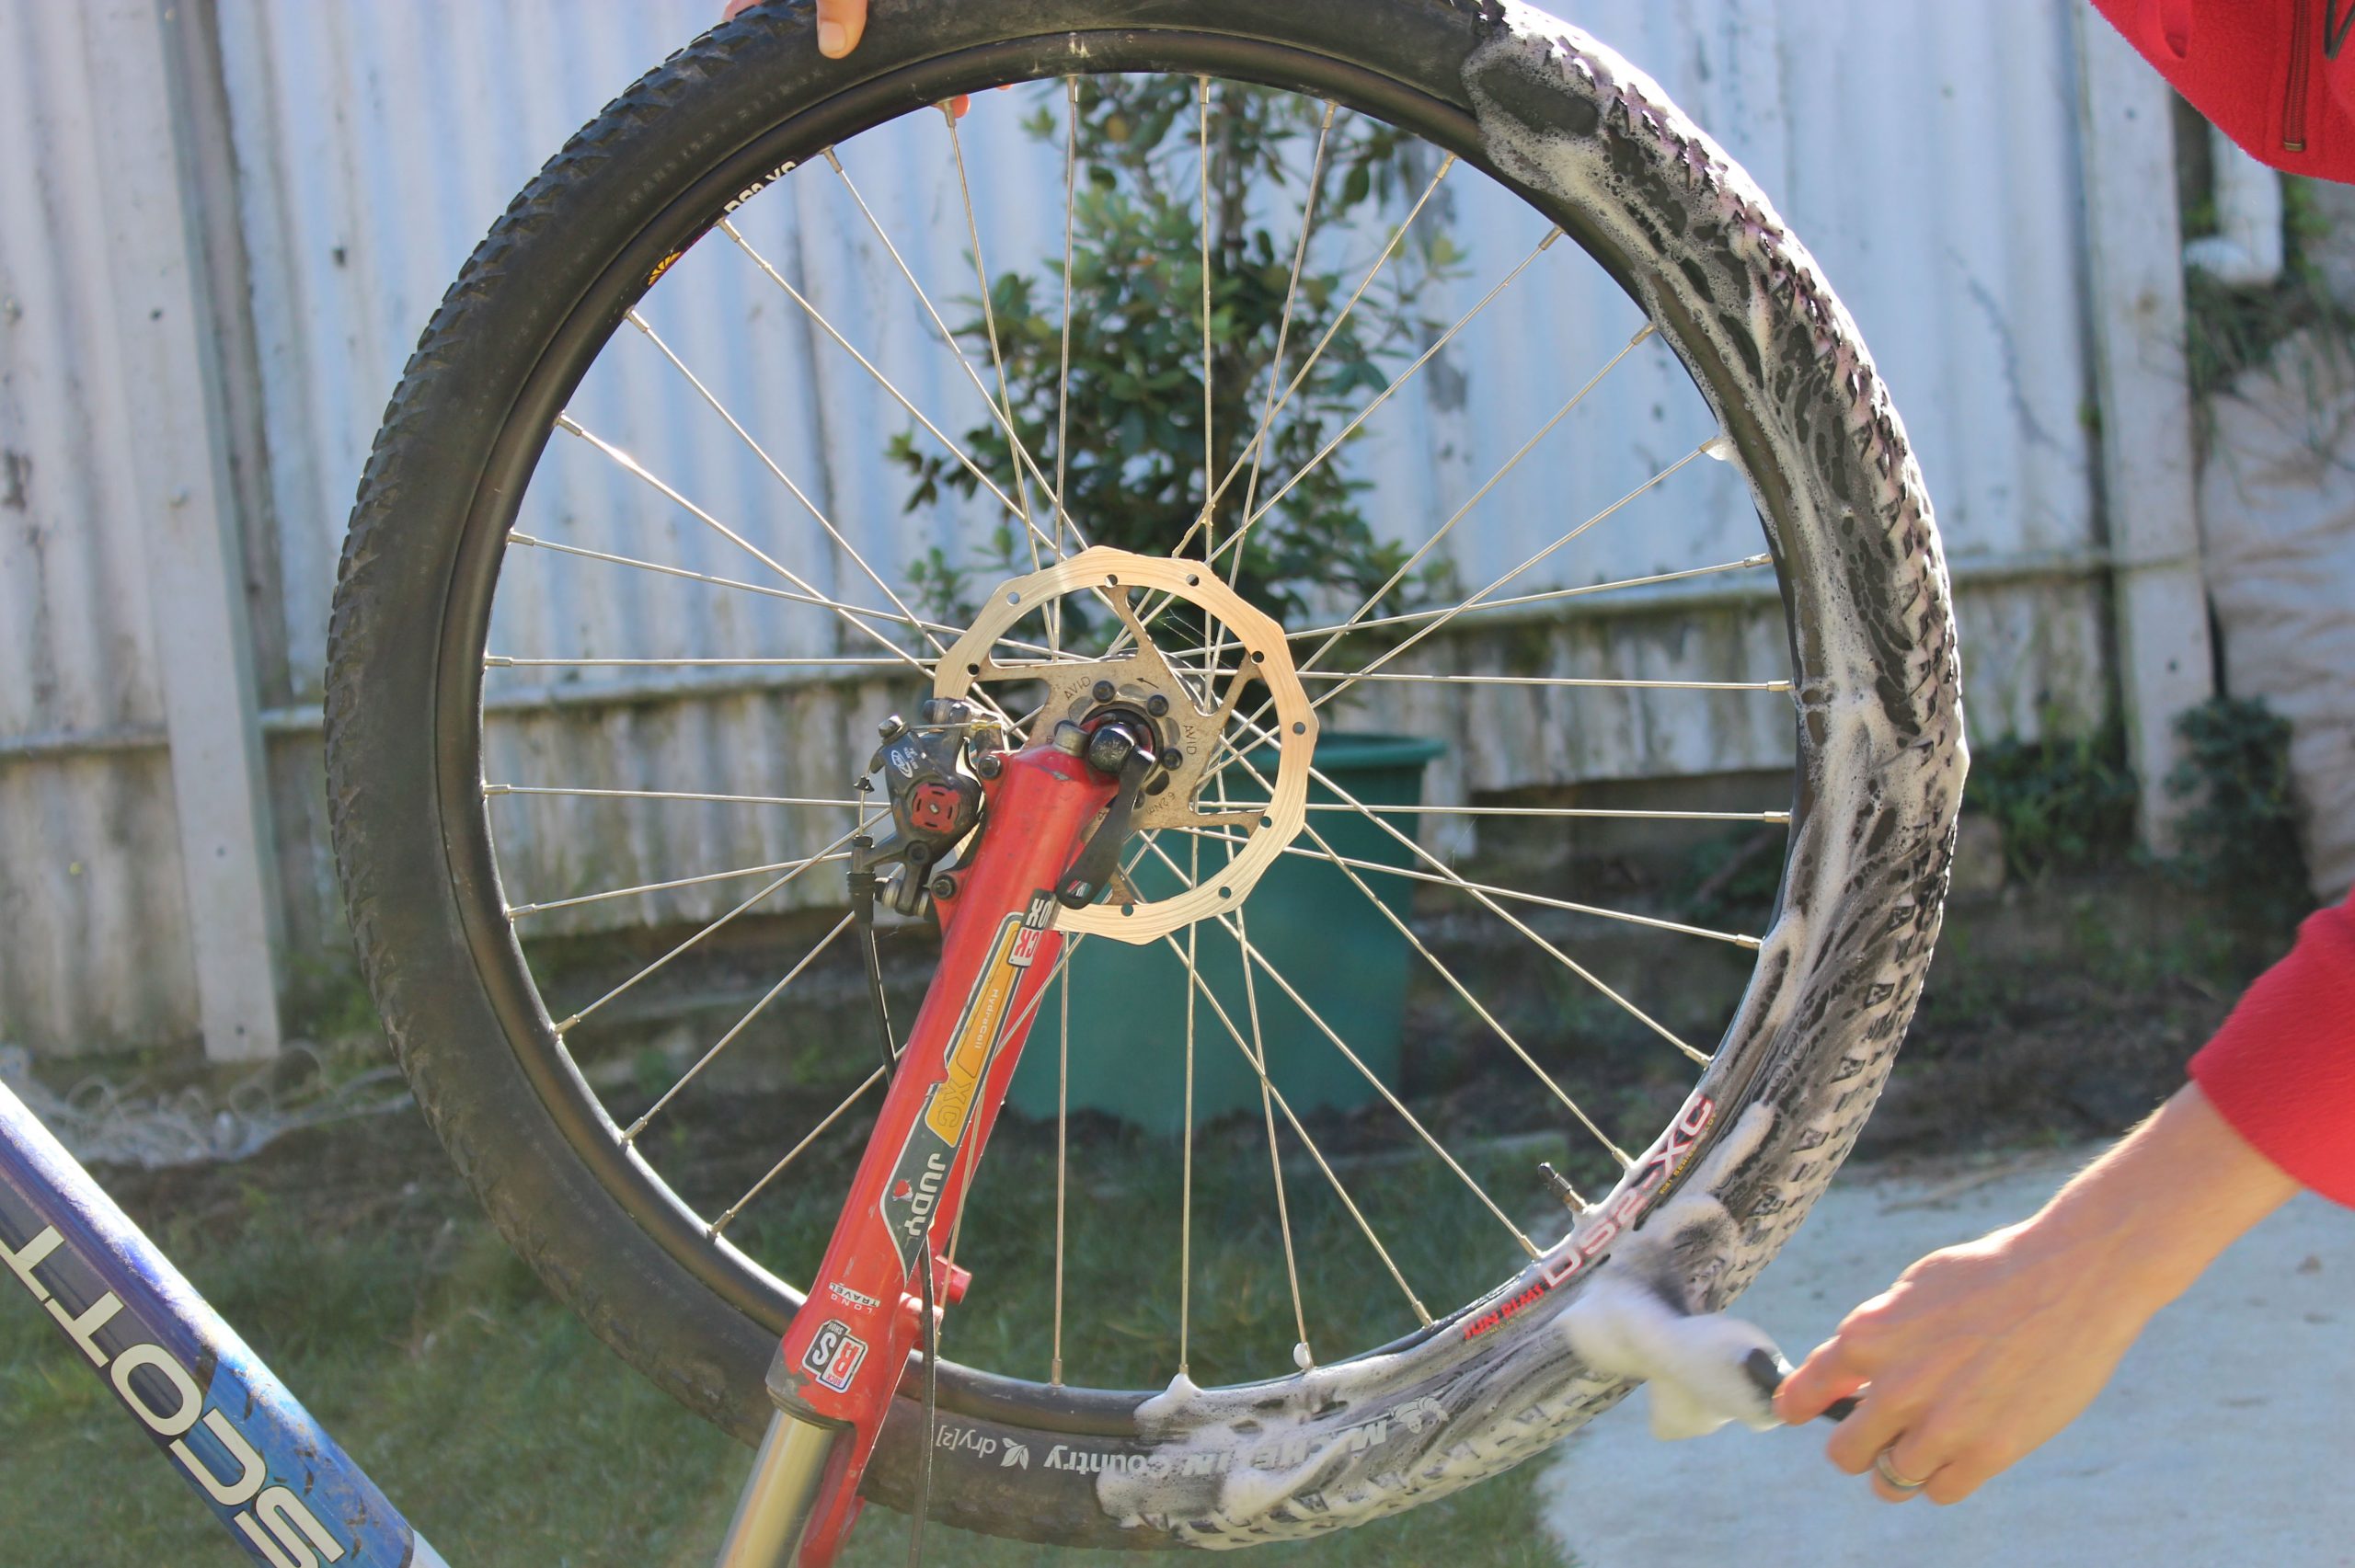
The biggest part of your tyre is the rubber and, depending on the tread, it can carry a lot of dirt. The best thing to clean rubber with is biodegradable bike cleaner or dishwashing liquid – yes – and the more bubbles the better! The kids love this, most adults too.
Use a brush to get a good lather up and remove mud just be careful of your valve – don’t bend it. It’s a good idea to have a dust cap on your valve to prevent dirt getting in there and clogging anything up but if you don’t have a cap now is a good time to look into the valve and check for dirt. Once you have lathered up, rinse off with water and repeat if necessary. Once you are happy grab a dry cloth and dry the wheel. This gives you time to check some things out…
While cleaning or drying:
Check the tread, rubber and fabric casing of the tyre. Look for wearing, cracks, splitting, something stuck in the tyre or grit embedded in the tyre.
Check the valve. Look for damage to the valves, are they straight? If you don’t have a dust cap look into the top to see if any dirt is lodged there.
Check the size of the tube and what the PSI range is. All this important information is written on the sidewall of your tyre so find it.
Now step back and go “Wow”! How good do your tyres look?
goRide is a shared journey, so we would like you to assist in guiding it along the way. Contact goRide. Your thoughts, comments or feedback. Thank you for being a part of the goRide way.[/themeone_section]


 Consider, a women of the 19th century; dressed in a corset, voluminous burdensome petticoats and stiff skirts. Bound by many social restrictions. Riding was dangerous, completely impractical, and socially unacceptable.
 And a woman of today; where we have pants, and all sorts of clothing options to ride in, freedom of choice, improved equality, voting rights …
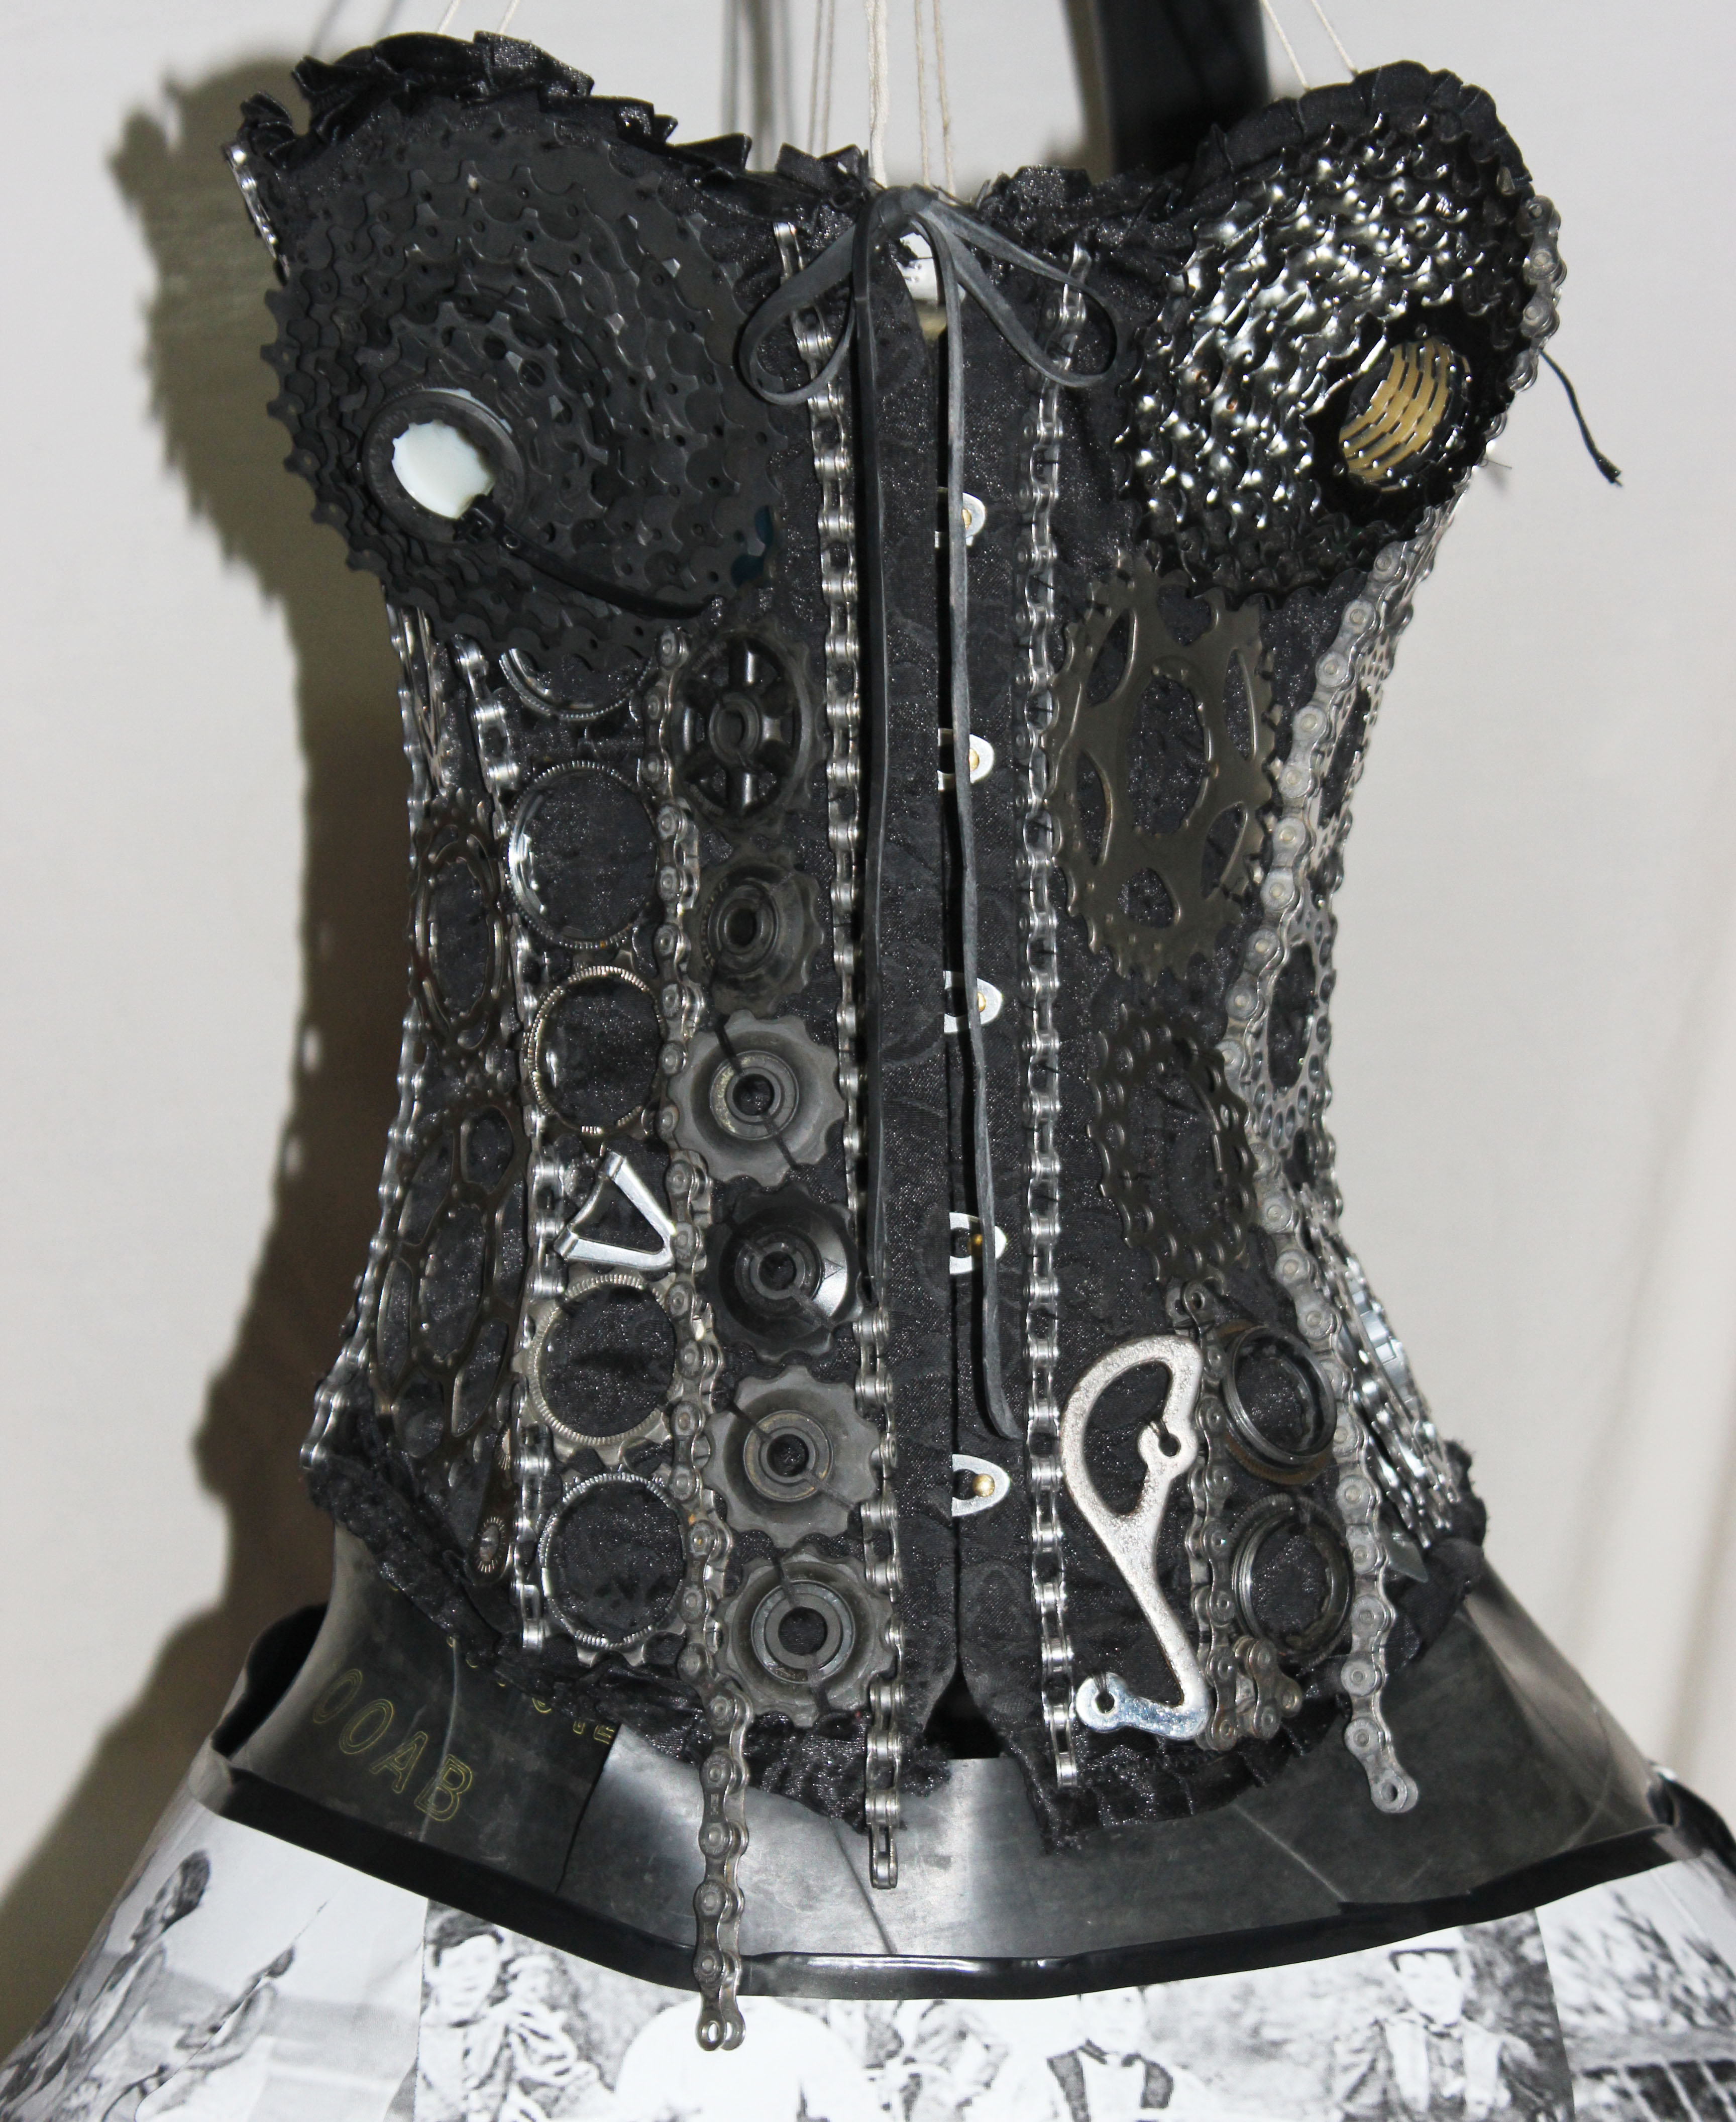


 Cleaning the different parts of the bike allows you to familiarize yourself with your bike. As you clean you can check the different parts of your bike and ensure it is safe and working properly this leads to better performance from your bike. At goRide we believe if you clean your bike you will get to know and enjoy your bike.


 Use a brush to get a good lather up and remove mud just be careful of your valve – don’t bend it. It’s a good idea to have a dust cap on your valve to prevent dirt getting in there and clogging anything up but if you don’t have a cap now is a good time to look into the valve and check for dirt. Once you have lathered up, rinse off with water and repeat if necessary. Once you are happy grab a dry cloth and dry the wheel. This gives you time to check some things out…