NZ Made Bike Gear by goRide
Finding the right bike gear for women & families can be a tricky thing. The bike industry serves male riders first and foremost so we often can not find the solution we are looking for. This has lead us to making some of our own products which has been a hugely rewarding journey.
Supporting you and your family to SMILE when you ride.

Choosing NZ Made is Important
There are lots of great reasons why we choose to have goRide bike gear made in NZ. Here are a few of our favourite…
Keep NZ talent working – supporting local people to continue to do what they know and love. Unfortunately the NZ manufacturing sector has seen a major decline in factories so the people out their still trying to make a living need to be supported.
Quality guaranteed – with everything we make being overseen here in NZ it is easy to maintain a high level of quality.
Made for Kiwi women & families – being designed, tested and made here in NZ means that each product is well thought through before reaching the market. Small batch runs allow us to vary colours and make quick design changes that react to the feedback we receive.
Good for the planet & minimises waste – again with production here in NZ we can be confident in how the process is run. This allows us to minimise waste and choose fabric & accessories that are kind to the planet.
Proud – Making bike gear that is not only practical but colourful & fun is a really important part of what we do. We want women & families to be comfortable and feel confident when they choose to ride in our beautiful country. We want you to be able to choose NZ Made and wear or use it proudly.
NZ Made Bike Gear by goRide
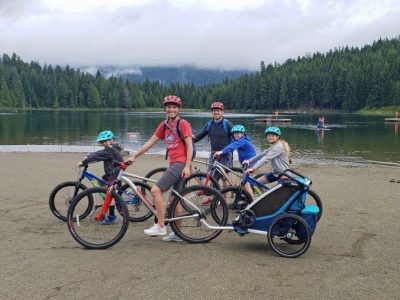
We started our NZ Made journey way back in 2015 with our Kids goUnders – Padded Bike Underwear. Both Jo & I had young kids at this time who we loved to take biking. We wanted to take them on some biking holidays but couldn’t find padded bike pants that were fun & be interesting for them to wear. We decided to make our own.
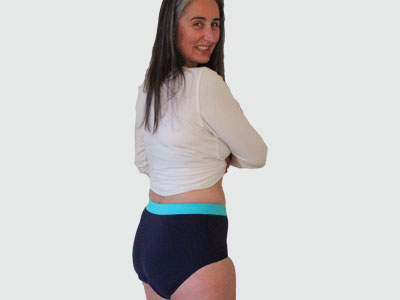
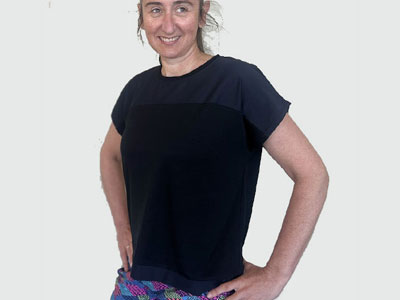
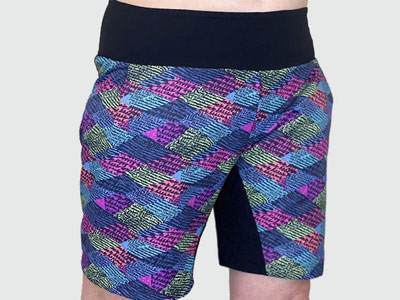
From there our vision grew and now includes padded bike underwear for women. The brief style underwear come in two waistband heights – high waist and mid waist. The padded underwear range continues to expand and includes a Boy Leg padded underwear for women & teenage girls. Winter 2022 will see men and teenage boys covered with a Boxer style undie!
We have always aspired to making riding more fun for kids. This has led us to make our own hand painted bike bell range, along with a cute handlebar bag for toddlers to take exploring. All of these products are intended to make kids smile when they ride. These simple products are made in our studio in Nelson by Annette and her talented, artistic daughter.
Who We Support – Other NZ Made/Designed Brands
Whenever we can we support NZ Made products so we have some great NZ brands in our online shop.
This includes the amazing natural Biomaxa Chamois Cream. Which is made from Manuka honey and lanolin – a very special mix of ingredients to support your skin.
Other companies based in NZ and using some incredible design talent include; Scribbler Jackets, Therm Kids Outdoor Active Wear, DoLittle Kids Bike Seats and Loose Line Bike Tees for Women or Kids.
Our Commitment to NZ Made
Made in New Zealand is a goal that we will maintain for as long as practically possible. We will continue to support the talented, skilled, generous specialists that are part of our team. From digital pattern makers, to cutters, the construction girls and our hand painting artist. Every time you buy NZ Made bike gear you are helping us to keep this dream happening… so thank you & please spread the word!


Your bike riding success is different to others… use our stories and support, get the right solutions.

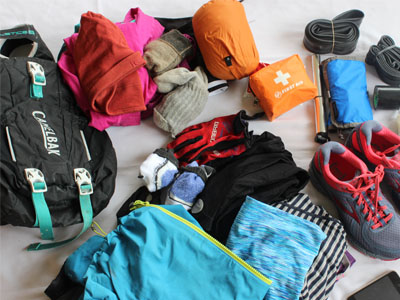
Ride More Places
Bike Gear Stories
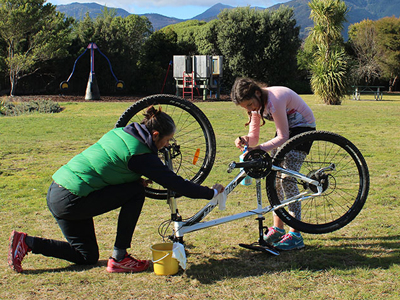
Women and families learning ...
Buying Guides

Solution Finder

Types of Riding Stories
Support and inspire other riders and families to ride
Share your riding outings, adventures and experiences on our quick and easy question and answer forms. Join us in helping others ride bikes. All entries receive a free shipping coupon and go into our seasonal prize draw.
goRide supporting women and families to SMILE when you ride