E-Bike Riding – Am I Safe to goRide?
Riding any kind of bike gives you the ability to connect with the outdoors and E-Bikes help you to ride further and see more. To be safe, comfortable & confident you need to understand any risks and manage them well.

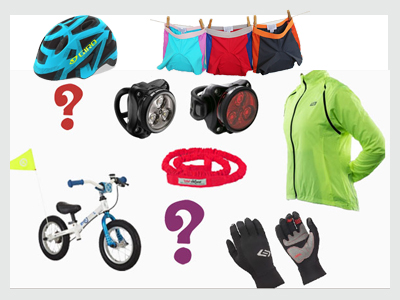
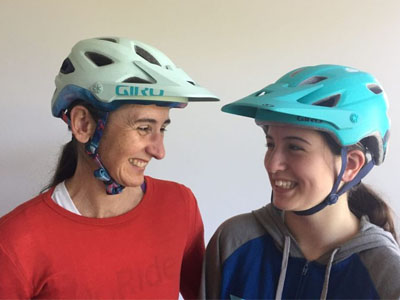
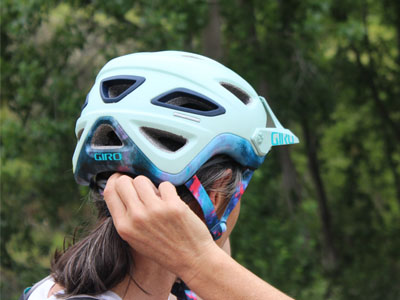
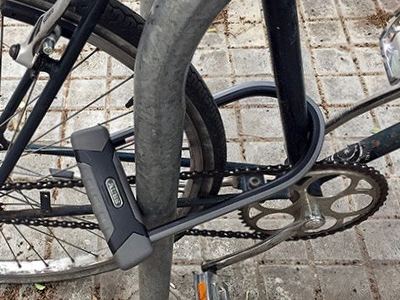
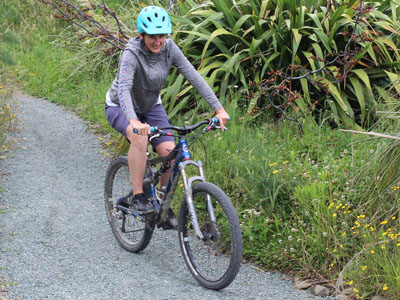
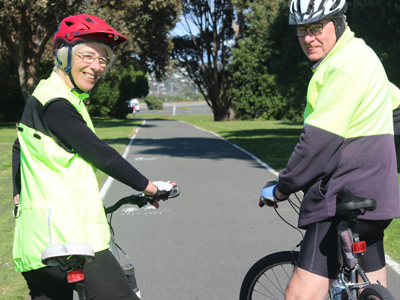
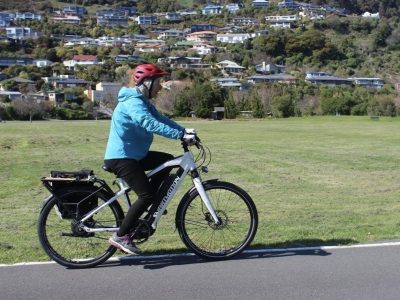
Tip One – Wear a Good Bike Helmet & Have a Good Lock
Wear a helmet that has been designed for the type of riding you are about to do. E-Bikes give you the ability to travel at high speeds so we recommend a performance level helmet with great head coverage to protect yourself. Choose the protection that will give you confidence and the knowledge that you have the correct gear to ride safely on the roads or trails you choose.
Check out our Adult Bike Helmet Buying Guide and our story The Best Helmet for an E-Bike
E-Bikes are targets for thieves. You need a lock that will keep your bike safe when you are not around, including thinking about how it is protected at your home. E-bikes can have larger frame sizes if this is where the battery is so you may not be able to use certain types of locks (small U-Locks will be a challenge). We recommend a mid to high level security rating depending on the level of risk your environment has. Please read more… The Best Locks for E-Bikes

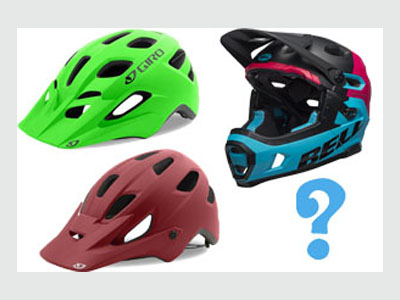
The ideal helmet for E-Bike riding should provide you with performance level protection.
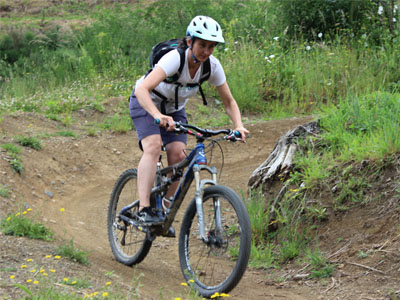
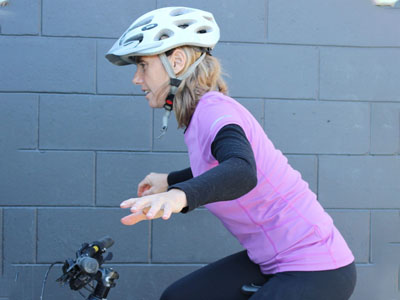
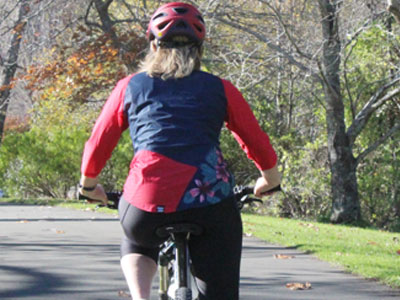
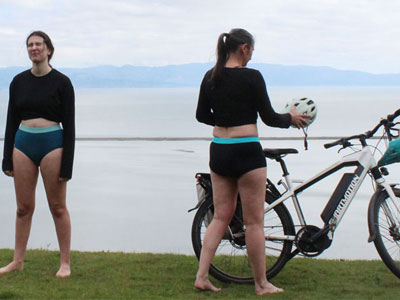
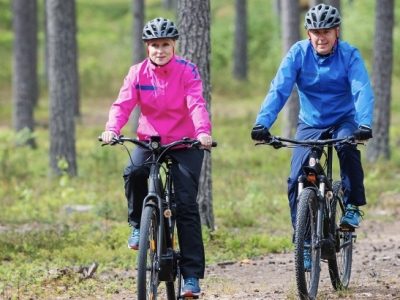
Tip Two – Be Visible at Faster Speeds
Most people who own a bike find themselves riding along a road at some point. Even if you prefer to ride off-road, to get to some trails or join trails, road riding will be necessary. As you grow in confidence, hopefully, the idea of using your E-Bike for other trips will begin to appeal. When on the road in traffic it is really important that you are easily seen. At faster speeds it is important to ride in a predictable way and always ride defensively with the idea that the cars around you have not seen you. Approach intersections with caution, try at all times where possible to make eye contact with a driver to ascertain whether they have seen you or not.
There are two things to think about to keep yourself safe as you ride at speed and approach cars & intersections faster than what may be expected: Lights & Clothing
Lights – Quite often E-Bikes will come with lights integrated into the frame and connected to your battery. If not or you want to add more you will need to do a bit of reading & research to understand what is best for the type of riding you do so read our Bike Light Buying Guide. We recommend an easy to carry, easy to attach front & rear light set that suits the lighting environment you use your E-Bike in. Using lights even during the day to attract attention is a good plan.
Clothing – Bright, colourful outer layers will help you to be seen on your E-Bike. This includes your jacket, clothing, helmet, gloves… For inspiration on visibility visit our Be Visible On a Bike Page. Being visible doesn’t need to mean wearing fluorescent yellow there are lots of stylish bright options on our Bike Clothing Page

Wearing bright colours or bright patterns will help you to be noticed when you ride.
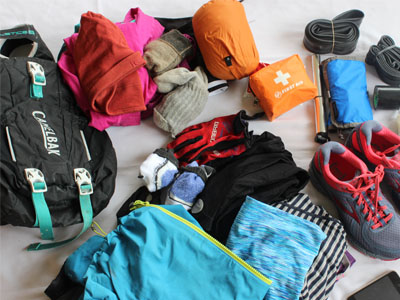
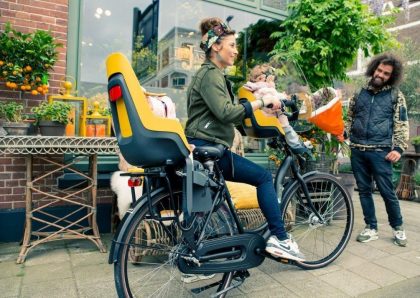
Tip Three – Carrying Weight is Easier
Adding weight to yourself or your bike tends to go unnoticed on an E-Bike as you have the advantage of assistance. E-Bikes have strong frames and often come with an integrated or attached rear carrier. You can therefore easily ride an E-Bike for a wider variety of reasons. Carrying shopping, library books, kids (E-Bikes & Transporting Kids) or overnight gear is not as challenging as it is on a standard bike.
We have written a series of stories to help with how you would choose to carry gear, depending on the type of riding you are doing. Carrying Gear – Stories & Support
What you need to be safe when you ride depends on a number of variables… distance, the weather, how close to help you are. Always try to keep your loads even and balanced… try not to put too much weight on your back as this will become challenging over time for any rider.
A couple of important things to always take with you:
Water – How much water you need to carry depends on a number of things; how far you are going, the access to drinking water, how much you sweat, how hydrated you where before beginning your ride. For more detail on staying well hydrated please read our Hydration Buying Guide and the story on Hydration – Carrying Water When You Ride. As a general guide more is better See shop hydration to understand your options
Food – Generally your energy output will be lower on an E-Bike but you are still using your body and are exposed to the riding conditions (heat/wind). Any rides over an hour or any ride that involves a sustained challenging climb we would then recommend a snack before your downhill. We always recommend taking food when you ride with children regardless of the time frame. If your ride is over 2-3 hours this snack should become multiple snacks or a lunch. Keeping your energy levels high is really important for your enjoyment and your ability to concentrate during the next phase of your riding.

E-Bikes are ideal for using to ride with young kids either attached or towing them.
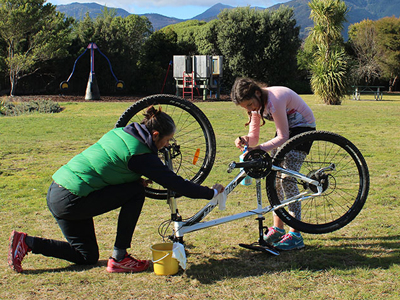
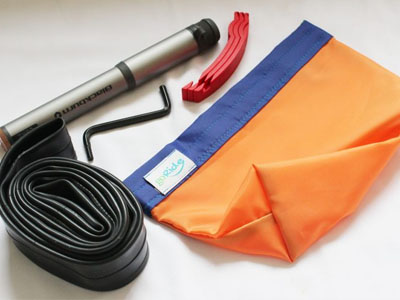
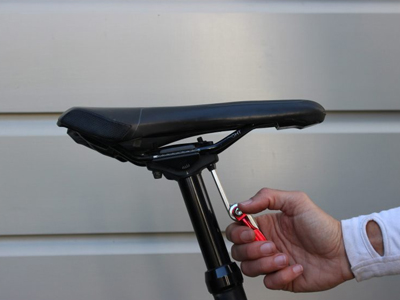
Tip Four – Your Battery & Tools
Do E-Bikes need special tools? Generally no, but you do need to be aware of your battery and the power levels you have/distances you can ride. “Check & charge” should be your motto every time you get off your bike. Get into a routine or habit of charging and looking for charging points when you are out riding. If you commit to owning an E-Bike you should be very aware of it’s capacity or the distance it will take you before the battery is drained. Your battery won’t last for ever, the life of most batteries is 2-3 years so also be aware of this and take note of any decline in performance. For more information on E-Bike Tools read this story.
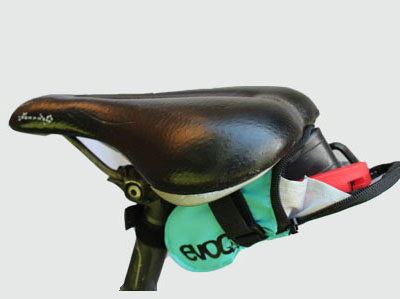
Carrying tools whenever you choose to go for a ride is a really important commitment to make to keep yourself safe. This becomes even more important as you choose to ride bigger distances and if you get further from help – more isolated trails/tour riding. We recommend carrying;
- Tyre levers, spare tube, mini pump and/or puncture patches
- Simple multi tool
- Tape or security ties to fix, hold up battery cabling
There are multiple ways you can choose to take tools with you. Seat posts bags are a popular choice. Tool wraps that can be placed in a backpack and will open up to easily display all your tools are a great idea. You need to understand how to use what you carry so if you need some help with this please see the following resources we have created;
Five Simple Bike Tasks You Should Know, Tools & Kits to Carry,
Keeping your tyres well pumped up is also important. Check the pressure often and you will be less likely to get what is called a pinch flat. The faster speeds you are moving at means you hit small bumps and rises with greater energy which can squash or compress your tyre and split the tube.
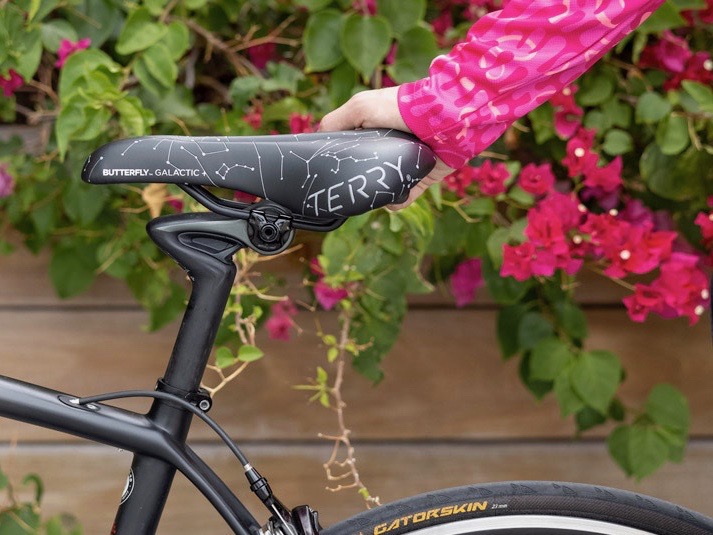
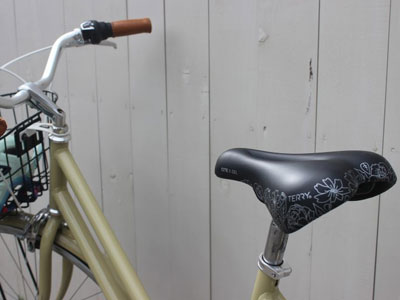
Tip Five – Comfort & Warmth
Your comfort while riding is a huge part of enjoying your time on an E-Bike. It will also keep you protected & safe. There are three key points where you make contact with your bike. The seat, the handlebars and the pedals…
We have extensively covered bike seat comfort and the problems that can occur at this important contact point… View our COMFORT ON YOUR BIKE SEAT page.
Your bodies experience and temperature regulation will be quite different on an E-Bike. You may find it harder to get warm and stay warm. Any cold temperatures will be noticed immediately as you move through the air at a faster speed. So this means E-Bike riders need to think about what to wear a bit more carefully than those riding standard bikes. You will need more air flow protection and you may need to wear more clothing to stay warm. Please read our story Keeping Warm on an E-Bike to get a better understanding of this important part of your riding.


Your bike riding success is different to others… use our stories and support, get the right solutions.
Ride an E-Bike
Riding an E-Bike is a different experience. Tips & advice for handling and balance on your E-Bike
E-Bike Riding - Am I Safe?
Safety is important for all riders. Understand what E-Bike riders need to think about to be safe.
Riding an E-Bike in the Rain
Will your battery or motor be affected by rain or water? Find out what to do to keep your E-Bike working.

Be Visible on the Bike
Being visible on the bike can help keep you safe. E-Bikes travel at speed so help drivers to see you!
Do you need special E-Bike tools?
You should always carry some bike tools when you ride… what do you need for an E-Bike?

Stories and Support Bike Tools to Carry
All our Bike Tools information – stories and support – on one easy to navigate page.
Want more from your riding?
Be supported to Ride as a Family, Progress Your Riding and/or receive Seasonal Inspiration. So you can SMILE when you ride.
All new members are automatically entered into our Seasonal Prize Draw.
SMILE when you ride
Support & Inspire other riders and families
Share your riding outings, adventures and experiences on our quick and easy question and answer forms. Join us in helping others ride bikes.
All entries are automatically entered into our Seasonal Prize Draw.