by Annette | Mar 29, 2018 | get Inspired
[vc_row][vc_column][vc_row_inner][vc_column_inner width=”2/3″][themeone_spacer height=”41px”][vc_column_text]Using a bike for transport is a really engaging way to move your family around a town or city. Arriving anywhere by bike gives you a sense of being a part of the environment rather than watching it go by. Town riding includes
- a short commute to or from work
- cycling to playgroup/kindergarten/school
- biking to playgrounds/parks/the beach
- using your bike for trips to the library/shops/cafes
- arriving at events/meetings/appointments
So if you want to start this kind of riding with a young family – from 1yr – what are the best kids bike seats for town riding?[/vc_column_text][/vc_column_inner][vc_column_inner width=”1/3″][themeone_spacer height=”18px”][vc_btn title=”Kids Bike Seat Buying Guide” style=”flat” color=”violet” size=”lg” link=”url:https%3A%2F%2Fgoride-debugclone.mystagingwebsite.com%2Fportfolio%2Fkids-bike-seat-buying-guide%2F||target:%20_blank|”][themeone_spacer height=”18px”][vc_btn title=”Shop Kids Bike Seats” style=”flat” color=”warning” size=”lg” link=”url:https%3A%2F%2Fgoride-debugclone.mystagingwebsite.com%2Fkids-bike-seat%2F||target:%20_blank|”][/vc_column_inner][/vc_row_inner][vc_row_inner][vc_column_inner][vc_single_image image=”12600″ img_size=”800 x 400″ alignment=”center”][vc_column_text]
Yepp Maxi rear mounted child bike seat for 1 to 6yr olds
[/vc_column_text][/vc_column_inner][/vc_row_inner][themeone_spacer height=”41px”][vc_column_text]
“On” the Bike
The kids bike seat market is expanding with every season so there is a lot of choice and options around where you can place your child when riding with them. From towing trailers to simple top tube seats there is something to please everyone. For a full overview see Bike Seats for Kids – What are my options? When you first start to ride through traffic with a young toddler we believe it is a great idea to have them harnessed on the bike with you. So that they are nice and close making it easy for you to talk with them. You will know that they are safe and the closer they are to you the safer they will feel. This makes rear & front mounting child bike seats the best choice for town riding.[/vc_column_text][themeone_spacer][/vc_column][/vc_row][vc_row][vc_column][vc_row_inner][vc_column_inner][vc_column_text]
 Yepp Maxi Rear Bike Seat $249 to $279 – Great age range, value for money
[/vc_column_text][themeone_spacer height=”41px”][/vc_column_inner][/vc_row_inner][vc_row_inner][vc_column_inner width=”1/6″][/vc_column_inner][vc_column_inner width=”2/6″][vc_single_image image=”12325″ img_size=”600 x 400″][vc_column_text]Yepp Maxi seat that attaches to your bike frame[/vc_column_text][/vc_column_inner][vc_column_inner width=”2/6″][vc_single_image image=”15427″ img_size=”600 x 400″][vc_column_text]Around town fun on the Yepp Maxi.[/vc_column_text][/vc_column_inner][vc_column_inner width=”1/6″][/vc_column_inner][/vc_row_inner][themeone_spacer height=”41px”][vc_column_text]A rear mounted seat with good adjustable footrests and shoulder straps can be used through a great age range. We are talking from around 1 to 6 years old. This makes a rear seat by far the best value for money as you can use it for twice as long as a front mounted seat.
Most bike types are compatible with a rear mounted seat. This gives your family the ability to have more than one attachment adaptor meaning different members of the family can go riding with the child.
Rear mounts still give you good options for carrying other things as handlebar baskets can be used. Most good rear seats like the Yepp, will come with adaptors for mounting panniers if you have a rear carrier.
 A great feature of the Yepp Maxi is its colour, adding bright colours to your riding set up increases your visibility in traffic. This means drivers are more likely to spot you as they approach. The Yepp Maxi also has 3 rear reflectors which again increase your visibility especially in poor light conditions – weather, time of the day.
Not only can rear seats be used around town but you will find them being used on easy off road trails and also for family bike touring. Being seated right in behind your body gives your child really good protection from air flow. In colder climates this can allow you to use the seat for more of the year.[/vc_column_text][themeone_spacer][/vc_column][/vc_row][vc_row css=”.vc_custom_1522209795031{background-color: #ffffff !important;background-position: center !important;background-repeat: no-repeat !important;background-size: cover !important;}”][vc_column delay=”0ms”][themeone_spacer height=”14px”][vc_column_text]
Learn more about the Yepp Maxi
Will a Yepp Maxi Fit on your Bike?
How to Attach a Yepp Maxi Frame Mounted Seat
How to Attach a Yepp Maxi Carrier Mounted Seat
[/vc_column_text][themeone_spacer height=”14px”][vc_btn title=”Shop Yepp Maxi” color=”orange” align=”center” link=”url:https%3A%2F%2Fgoride-debugclone.mystagingwebsite.com%2Fkids-bike-seat%2Fyepp-maxi-kids-bike-seat%2F||target:%20_blank|”][/vc_column][/vc_row][vc_row][vc_column][vc_column_text]
 Yepp Mini Front Bike Seat $219 – Best interaction
[/vc_column_text][themeone_spacer height=”45px”][vc_row_inner][vc_column_inner width=”1/6″][/vc_column_inner][vc_column_inner width=”2/6″][vc_single_image image=”12302″ img_size=”600 x 400″][vc_column_text]Yepp Mini attaches to your exposed handlebar stem[/vc_column_text][/vc_column_inner][vc_column_inner width=”2/6″][vc_single_image image=”15372″ img_size=”600 x 400″][vc_column_text]Footrest & shoulder harness adjustment is important for good fit[/vc_column_text][/vc_column_inner][vc_column_inner width=”1/6″][/vc_column_inner][/vc_row_inner][themeone_spacer height=”45px”][vc_column_text]Front mounted seats are a great way to introduce your toddler to riding on a bike. The placement of your child right between your arms gives them a sense of safety and gives you the best interaction possible. As you ride along they will see everything you see and you can chat about where you are going and what’s passing by.
A front seat has the smallest of age ranges out of all the child bike seats – from 1 to 3 years old. However, we believe that you will use & enjoy this seat more than others – again this is about the interaction that is possible.
Having a kids bike seat mounted at the front of your bike leaves you with options at the rear. So depending on your family, or future family, this gives you space for attaching or towing another child. It also allows for good storage options in panniers or on a carrier. Riding around town doing simple chores/messages may mean you need this kind of space. Cargo bikes are a great round town option for family riding and front bike seats are designed for use on these styles of bikes. Along with crusier/retro bikes anything that puts you in a fairly upright position will work really well with this seat.
Good quality front sets, like the Yepp Mini, will have adaptor options. This means you can use the Mini with more than one style of bike. For example, it can be attached to a mountain bike or trail bike using an A-Head adaptor. This gives you even more options for use and enjoyment – easy off road trails and family bike touring.[/vc_column_text][themeone_spacer][/vc_column][/vc_row][vc_row css=”.vc_custom_1522209795031{background-color: #ffffff !important;background-position: center !important;background-repeat: no-repeat !important;background-size: cover !important;}”][vc_column delay=”0ms”][themeone_spacer height=”14px”][vc_column_text]
Learn more about the Yepp Mini
The Yepp Mini – The Best Front Mounted Kids Bike Seat
Will a Yepp Mini fit on your Bike?
How to Attach a Yepp Mini
[/vc_column_text][vc_btn title=”Shop Yepp Mini” color=”orange” align=”center” link=”url:https%3A%2F%2Fgoride-debugclone.mystagingwebsite.com%2Fkids-bike-seat%2Fyepp-mini-kids-bike-seat%2F||target:%20_blank|”][themeone_spacer height=”50px”][vc_column_text]
Town Riding With a Kid Bike Seat – Safety
When you have a passenger you must ride within your capabilities and consider the effect of extra weight e.g. brake earlier to stop. Practicing in a safe environment is always recommended before you head out into traffic so you can get used to how your bike responds with your toddler “on” it.
Safety routines for checking before every ride are really important. So make sure you check the child seat is attached correctly & check your bike (30sec pre-ride safety check). That all harnesses are closed and anything that could dangle down is removed or fastened. Helmets are compulsory in NZ for passengers on a bike. Make sure that the helmet is correctly fitted and the right size (watch our helmet video found in this story).[/vc_column_text][themeone_spacer height=”50px”][/vc_column][/vc_row][vc_row css=”.vc_custom_1522207542674{background-color: #bc64a9 !important;background-position: center !important;background-repeat: no-repeat !important;background-size: cover !important;}”][vc_column delay=”0ms”][themeone_spacer height=”14px”][vc_column_text]
get Inspired and goRide – The Best Kids Bike Seats for Town Riding
[/vc_column_text][themeone_spacer height=”14px”][/vc_column][/vc_row][vc_row css=”.vc_custom_1503562855007{background-color: #f1f1f1 !important;background-position: center !important;background-repeat: no-repeat !important;background-size: cover !important;}”][vc_column delay=”0ms” css=”.vc_custom_1500957776454{background-color: #f1f1f1 !important;background-position: center !important;background-repeat: no-repeat !important;background-size: cover !important;}”][themeone_spacer height=”20px”][vc_column_text]
Thanks for reading. Used together our stories, resources & products support you to achieve and develop as a rider.
Related Resources:
Kids Bike Seat – Match Your Bike to a Seat
Kids Bike Seats – How to do more riding with a toddler or 2
Kids Bike Seats – Safety & Care
The Best Kids Bike Seat for Mountain Biking
The Best Kids Bike Seat for Bike Path Riding
goRide helps you find your riding SMILE. Now it’s your turn….Contact goRide. Your thoughts, comments or feedback will make us SMILE.
[/vc_column_text][/vc_column][/vc_row][vc_row][vc_column][themeone_spacer height=”41px”][vc_column_text]
Other resources to help make you SMILE when you goRide
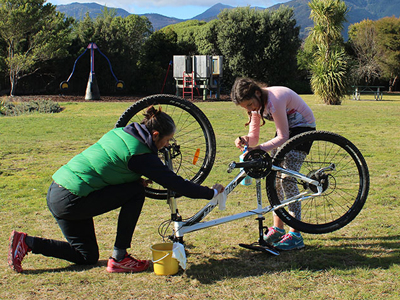
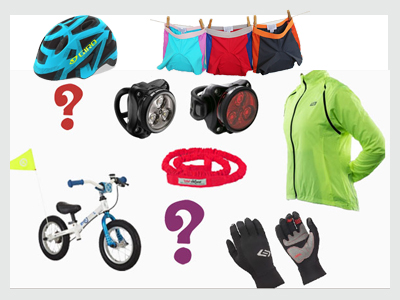
[/vc_column_text][vc_row_inner][vc_column_inner width=”1/4″][vc_single_image image=”11960″ img_size=”600 x 400″ alignment=”center” onclick=”custom_link” img_link_target=”_blank” link=”https://www.goride.co.nz/bike-topics/riding-gear/”][/vc_column_inner][vc_column_inner width=”1/4″][vc_single_image image=”11787″ img_size=”600 x 400″ alignment=”center” onclick=”custom_link” img_link_target=”_blank” link=”https://www.goride.co.nz/bike-topics/types-of-riders/”][/vc_column_inner][vc_column_inner width=”1/4″][vc_single_image image=”11627″ img_size=”600 x 400″ alignment=”center” onclick=”custom_link” img_link_target=”_blank” link=”https://www.goride.co.nz/bike-topics/places-to-ride/”][/vc_column_inner][vc_column_inner width=”1/4″][vc_single_image image=”13955″ img_size=”600 x 400″ alignment=”center” onclick=”custom_link” img_link_target=”_blank” link=”https://www.goride.co.nz/bike-topics/women-learning-bike/”][/vc_column_inner][/vc_row_inner][/vc_column][/vc_row]
by Annette | Mar 22, 2018 | get Inspired
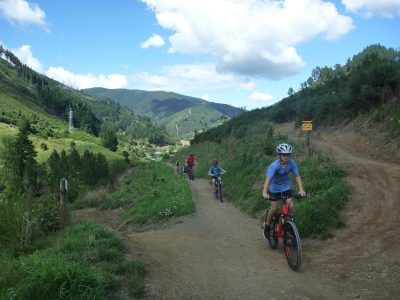
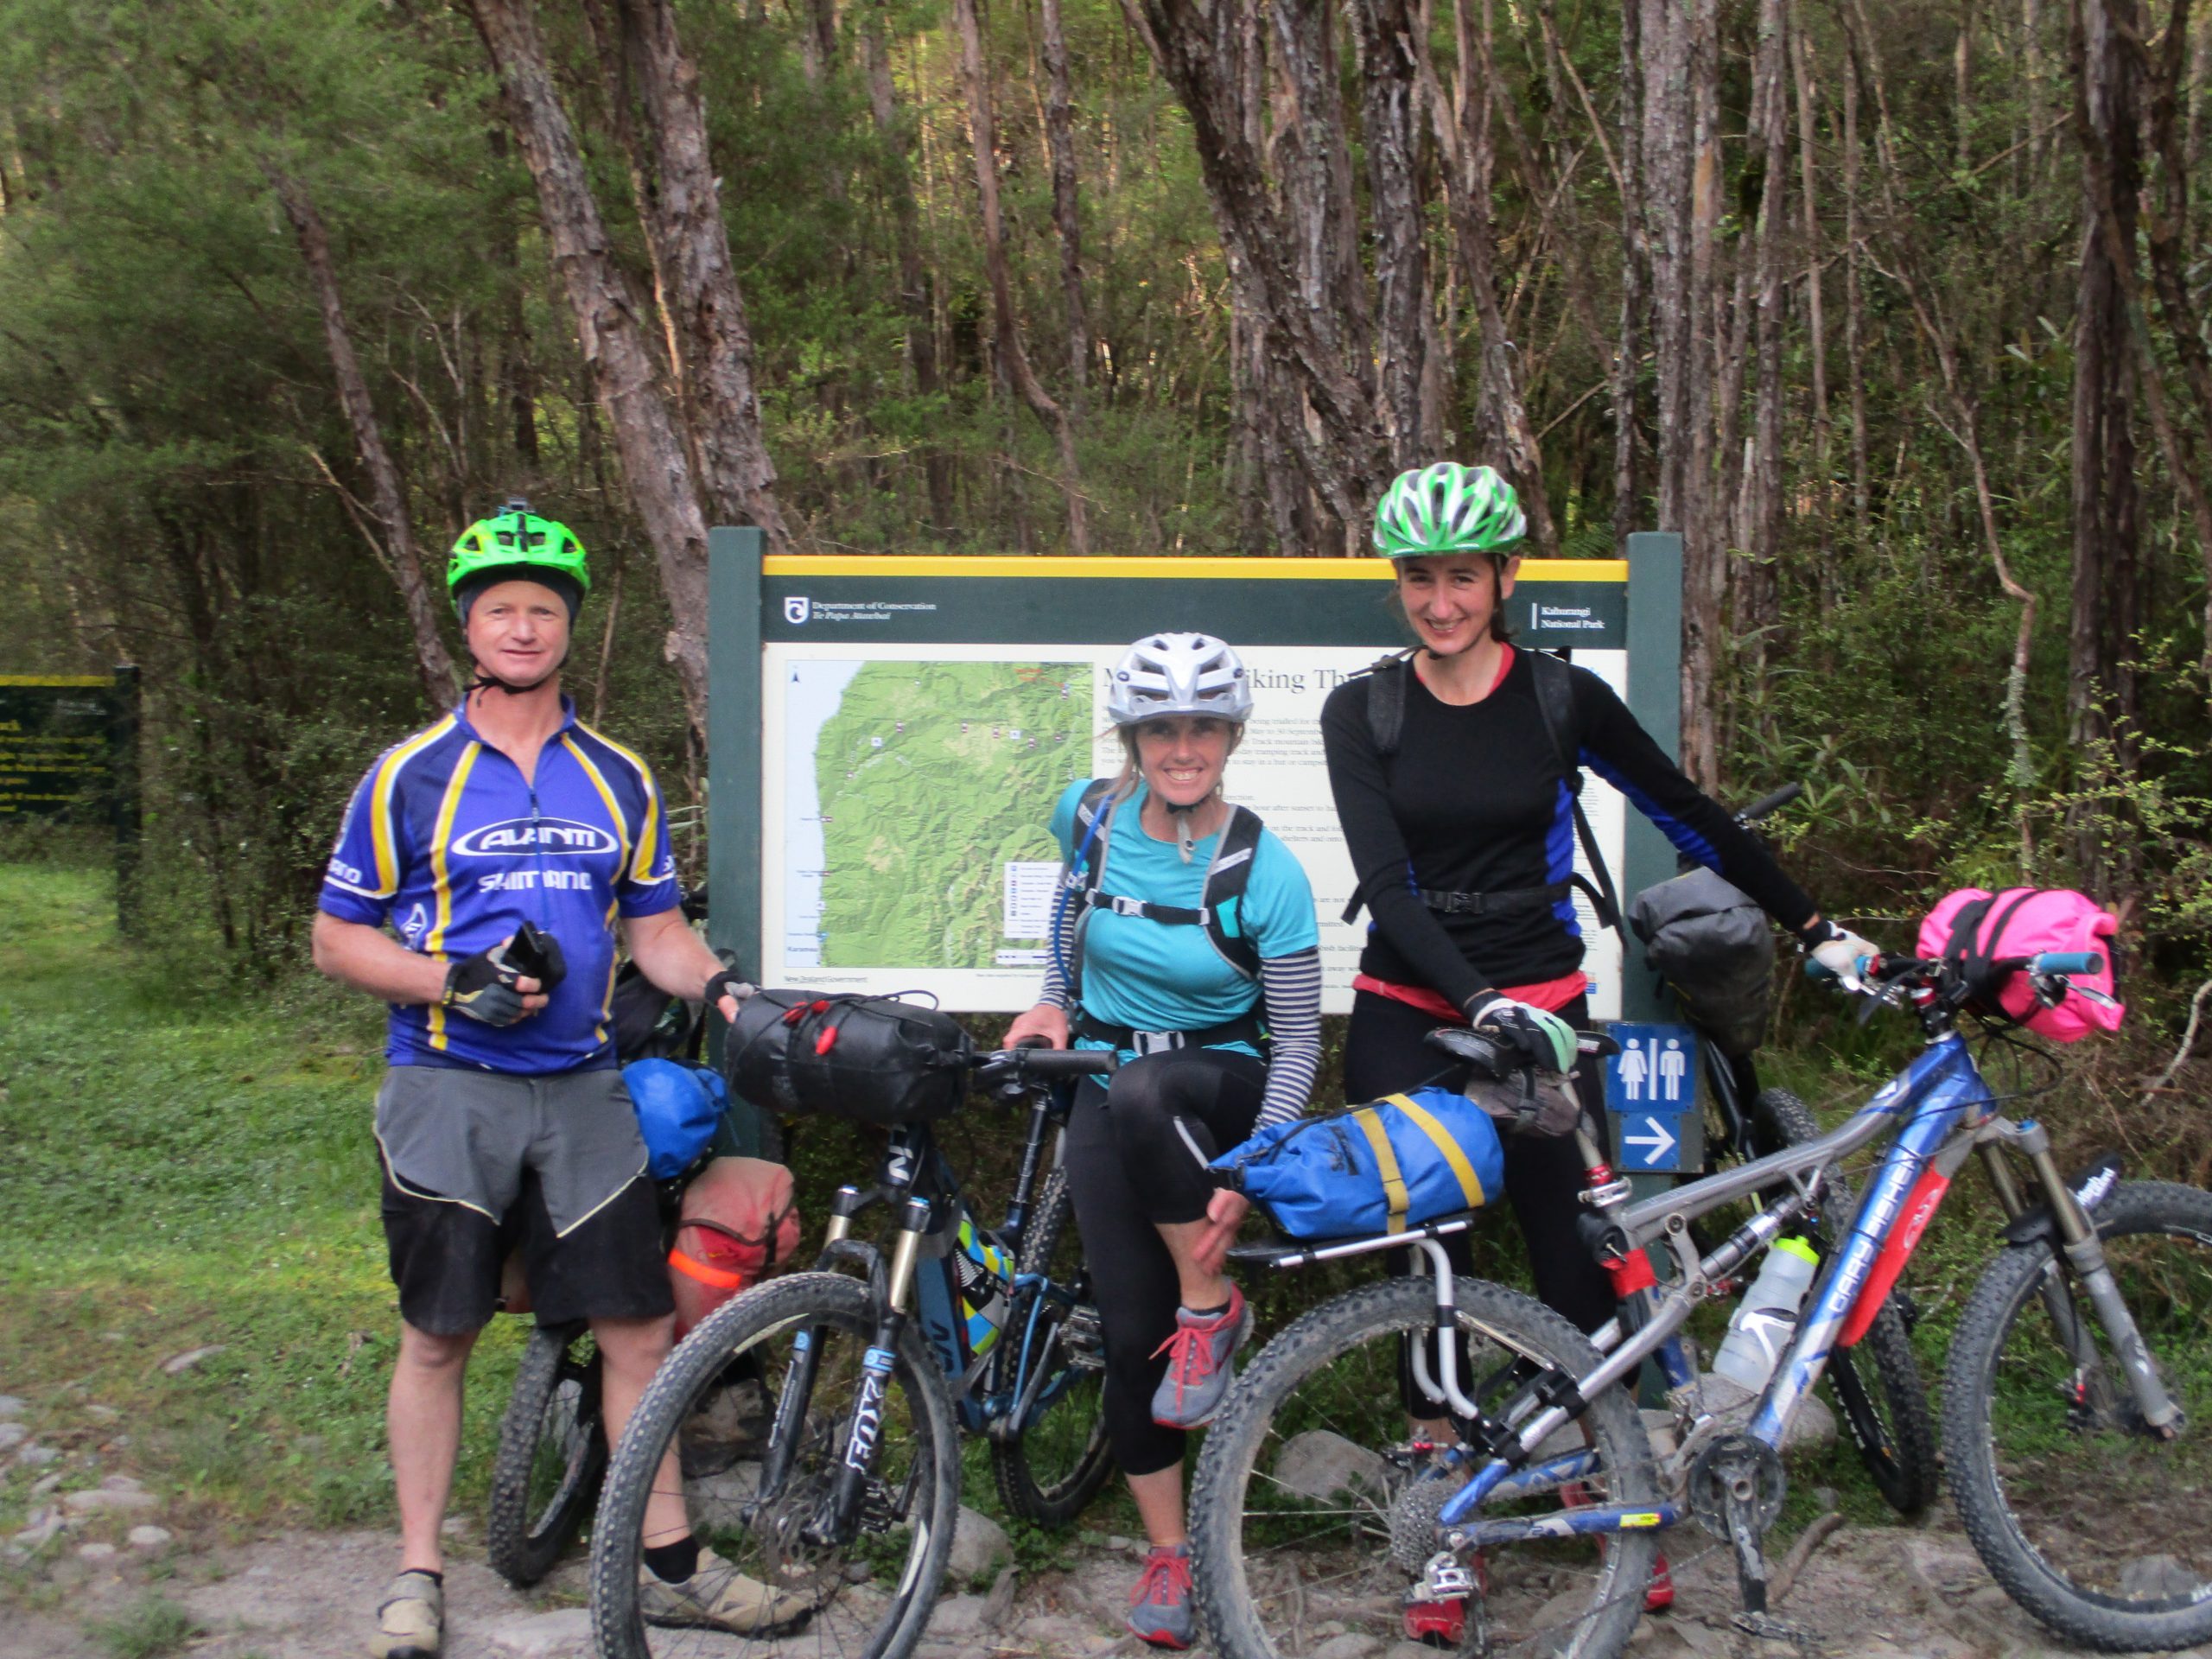
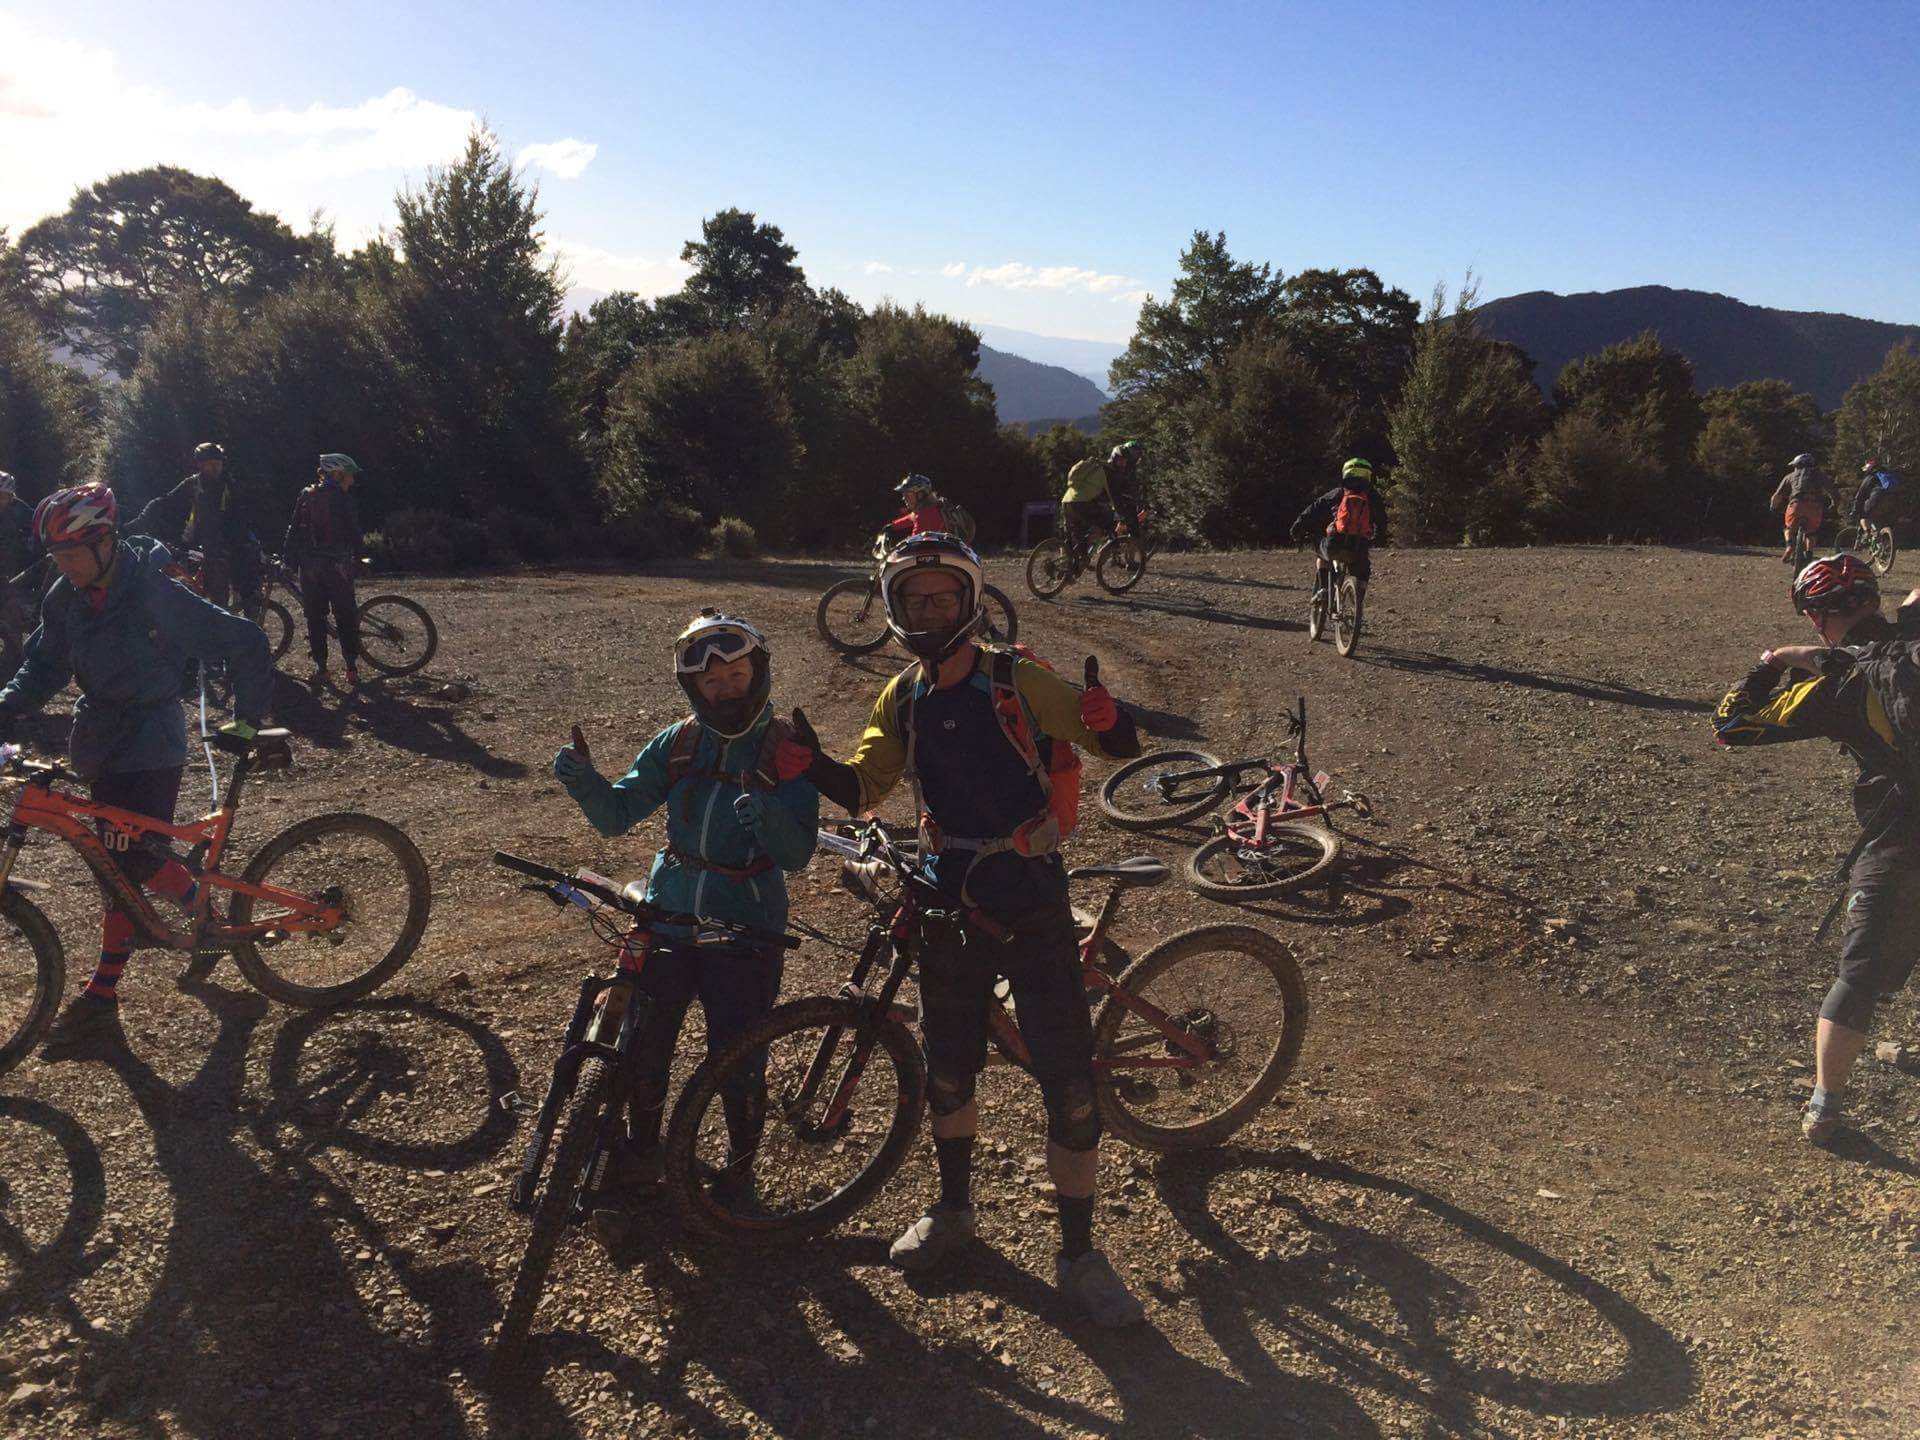
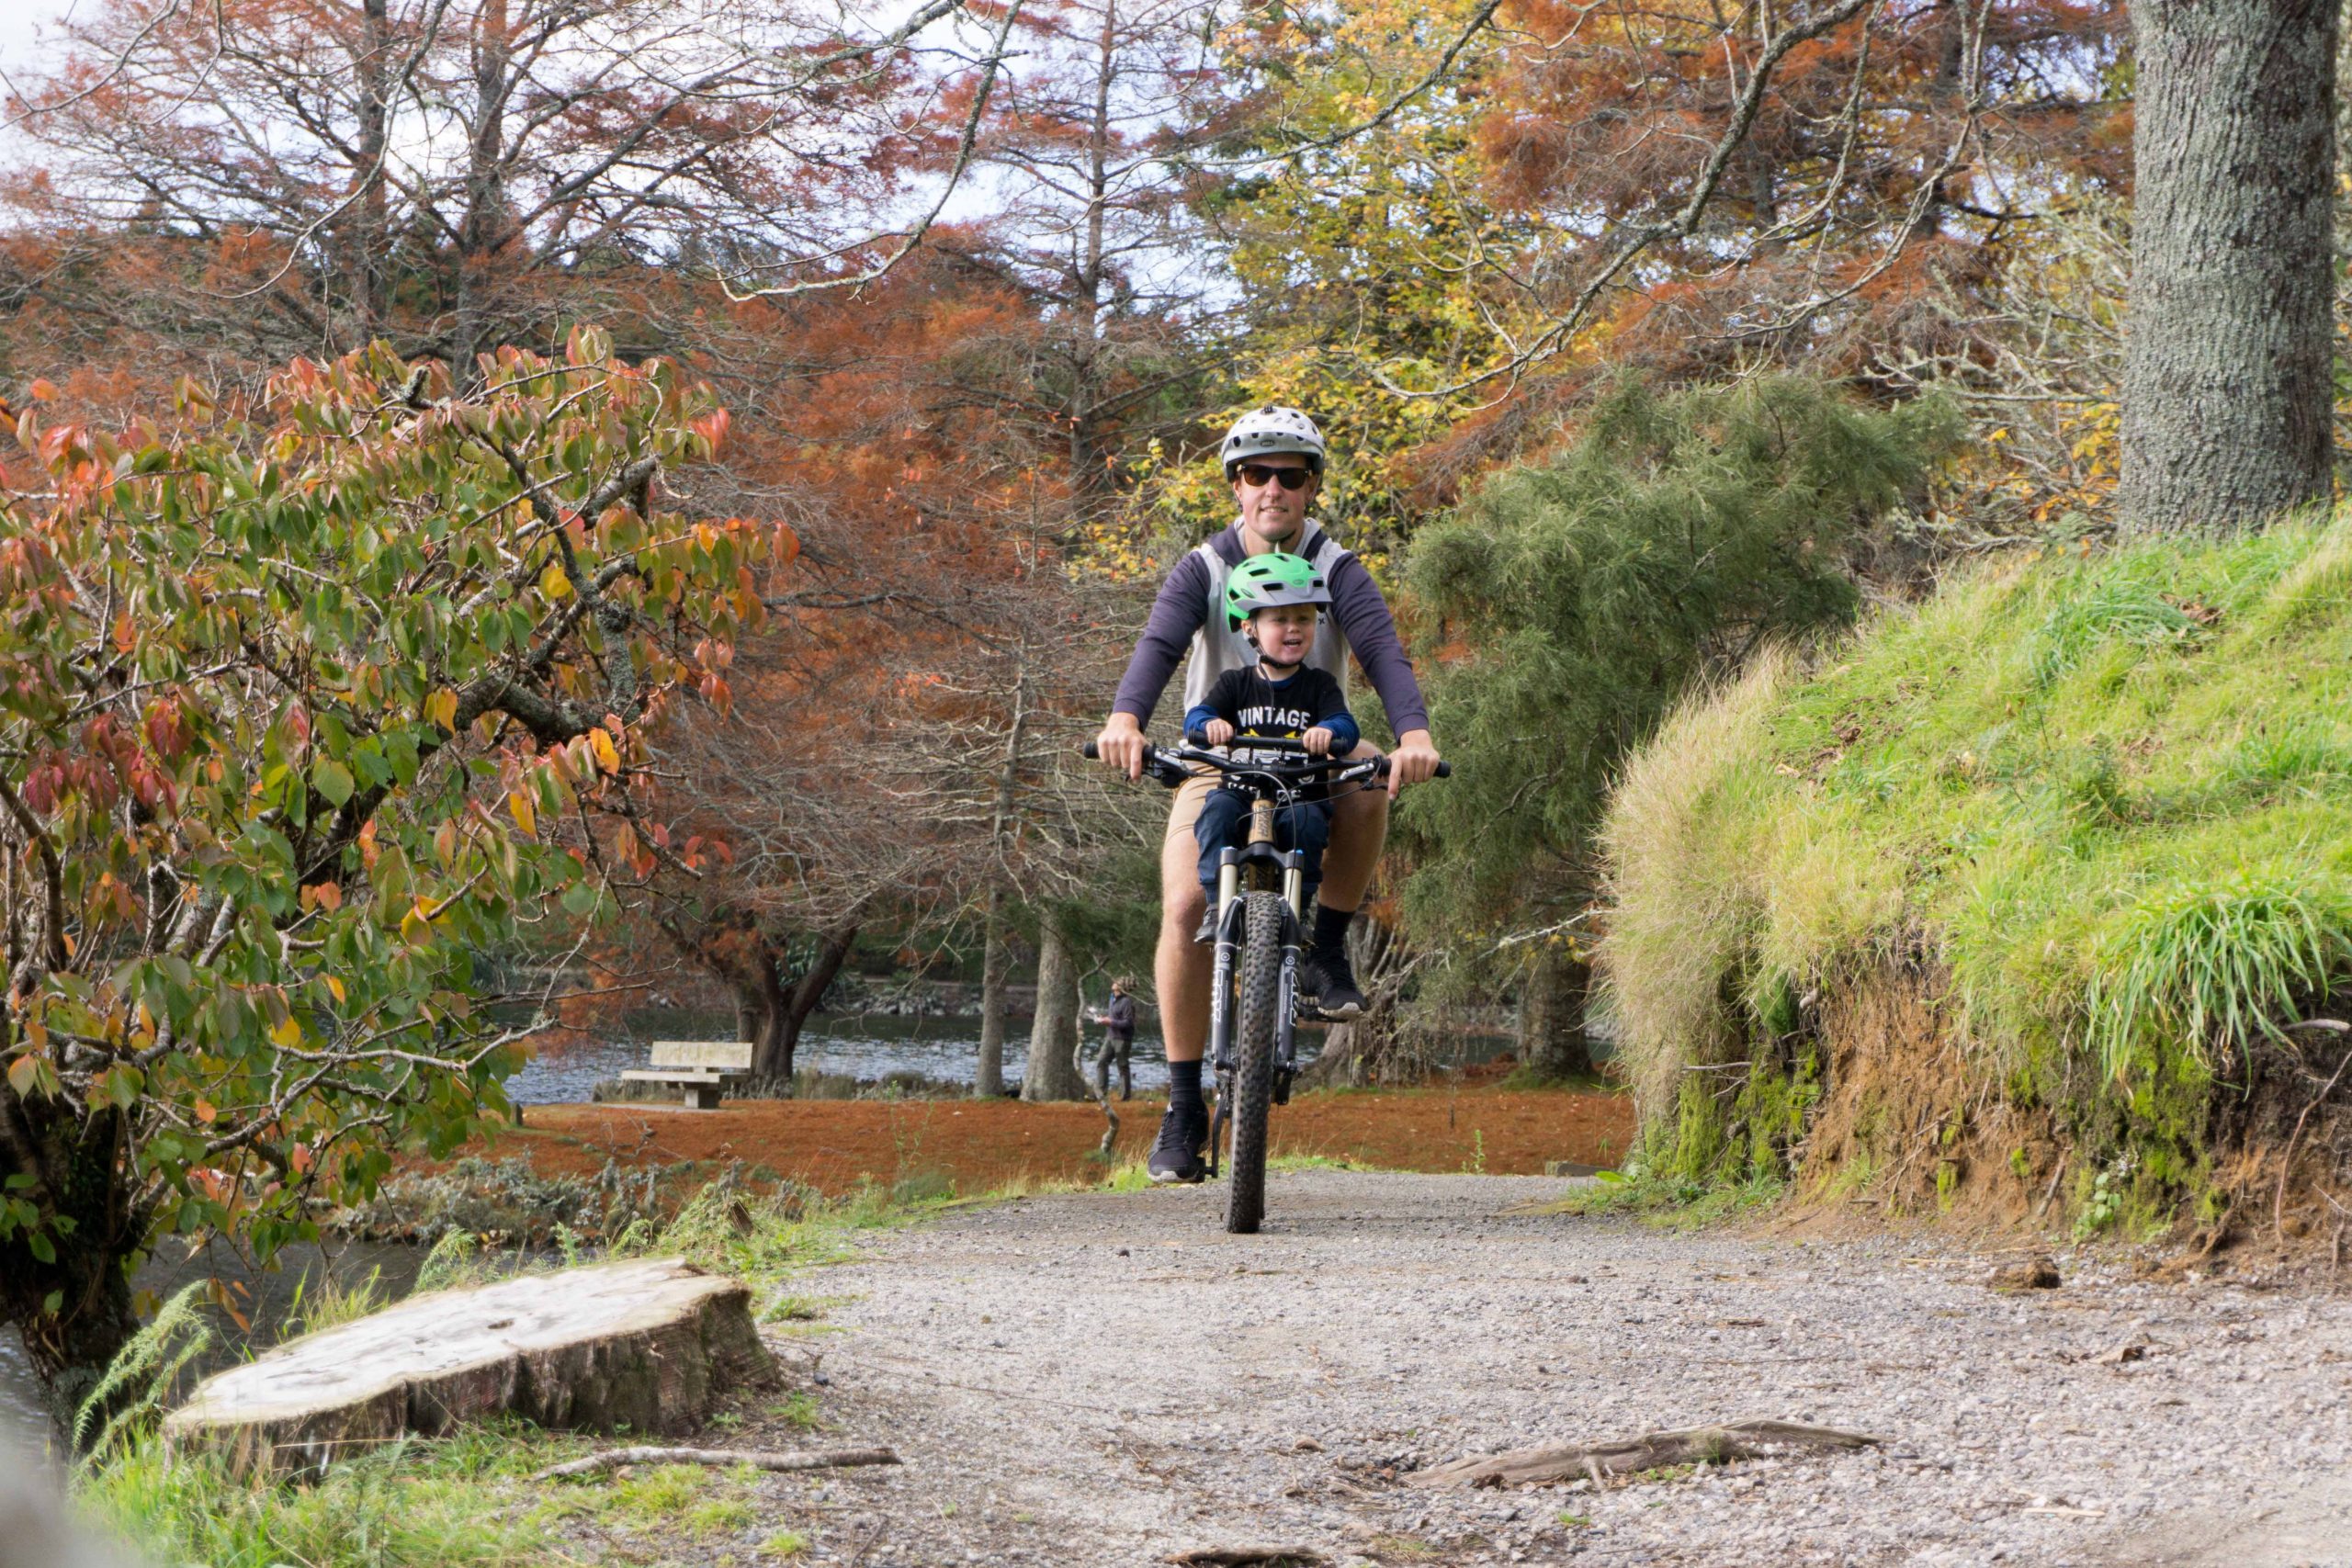
[vc_row][vc_column width=”1/6″][/vc_column][vc_column width=”4/6″][/vc_column][vc_column width=”1/6″][/vc_column][/vc_row][vc_row][vc_column][vc_row_inner][vc_column_inner width=”2/3″][themeone_spacer height=”41px”][vc_column_text]Mountain biking can take you into some very beautiful settings and mountain bike parks are doing a great job at providing easy beginner trails that are perfect for family riding. Some examples are
So if you want to start this kind of riding with a young family – from 2yrs – what are the best kids bike seats for mountain biking?[/vc_column_text][themeone_spacer height=”38px”][/vc_column_inner][vc_column_inner width=”1/3″][themeone_spacer height=”43px”][vc_btn title=”Kids Bike Seat Buying Guide” style=”flat” color=”violet” size=”lg” link=”url:https%3A%2F%2Fgoride-debugclone.mystagingwebsite.com%2Fportfolio%2Fkids-bike-seat-buying-guide%2F||target:%20_blank|”][themeone_spacer height=”18px”][vc_btn title=”Shop Kids Bike Seats” style=”flat” color=”warning” size=”lg” link=”url:https%3A%2F%2Fgoride-debugclone.mystagingwebsite.com%2Fkids-bike-seat%2F||target:%20_blank|”][/vc_column_inner][/vc_row_inner][vc_row_inner][vc_column_inner width=”1/6″][/vc_column_inner][vc_column_inner width=”4/6″][vc_single_image image=”15244″ img_size=”800 x 400″][vc_column_text]
Image courtesy of Ride Shotgun Limited
[/vc_column_text][/vc_column_inner][vc_column_inner width=”1/6″][/vc_column_inner][/vc_row_inner][vc_row_inner][vc_column_inner][vc_column_text]
Mid Mount Kids Bike Seats
As more and more of us are enjoying the pleasures of mountain biking the demand for specialist mountain biking products is growing. Part of this growth has seen the development of kids bike seats designed specifically for placing on mountain bikes.
When attaching a kids bike seat to a bike you have 3 options – front, mid and rear. It is the mid mounted seats that work really well with mountain bikes. Mid mounted kids bike seats place your child between your arms in a really central position on the bike. This means that your centre of gravity is less affected by adding the weight of a child to the bike. Also meaning your balance and steering is less affected, which is important for all riding, but particularly crucial in a mountain bike environment.
A couple of other reasons mid mount systems work for mountain biking are that they are suitable for full suspension bikes (you can not put a rear child bike seat on a full suspension bike). They are compatible with carbon bikes so won’t damage a carbon frame (front & rear seats should not be attached to carbon frames).[/vc_column_text][themeone_spacer height=”41px”][vc_column_text]
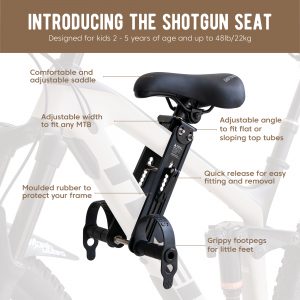
Shotgun Kids Mountain Bike Seat $220 – Fully adjustable, easily removed & attached
[/vc_column_text][themeone_spacer height=”31px”][/vc_column_inner][/vc_row_inner][vc_row_inner][vc_column_inner width=”1/6″][/vc_column_inner][vc_column_inner width=”2/6″][vc_single_image image=”27922″ img_size=”600 x 400″][vc_column_text]Shotgun – adjustable width, angle & tilt[/vc_column_text][/vc_column_inner][vc_column_inner width=”2/6″][vc_single_image image=”12607″ img_size=”600 x 400″][vc_column_text]The Shotgun with handlebar & 2 year old[/vc_column_text][/vc_column_inner][vc_column_inner width=”1/6″][/vc_column_inner][/vc_row_inner][themeone_spacer height=”41px”][vc_column_text]Our first choice for a kids mountain bike seat is the New Zealand designed & made Shotgun (2 to 5yrs). Shotgun introduced their kids bike seat onto the New Zealand market in 2017 so this seat has been designed with modern mountain bikes in mind. The seat is fully adjustable – not only do the swing arms pivot but the width of the seat frame can be changed and the kids seat can be tilted. The Shotgun team believe their seat will fit any mountain bike frame including all frames with wide, flat top tubes and small frames. It can handle top tubes widths from 30 – 58mm wide, and down tubes widths from 30 – 100mm wide (this also means that the seat will fit any bike with a top tube – not just mountain bikes).
 One of the most important features of the Shotgun is that once you have it set for your bike shape it is really quickly removed & re-attached without tools, watch this video. Having the ability to do this means that when you use your mountain bike, for mountain biking, there is no issue with attachments or fittings that could get damaged or the hassle of a time consuming removal/reattachment process.
At the beginning of 2019 Shotgun added another awesome feature – rubber foot straps
- To keep the child’s feet secure whilst riding
- But designed to break away in the event of a crash
Shotgun also offer an optional kids handlebar that gives your child their own handlebar to grip when riding. This can save any worry you have about where they will hold on. This is really beneficial for young 2-3yr old riders as it helps with their balance and stability. However this does add an attachment that you may want removed when mountain biking by yourself.[/vc_column_text][themeone_spacer height=”28px”][vc_row_inner][vc_column_inner delay=”0ms” css=”.vc_custom_1521688163599{background-color: #fafafa !important;background-position: center !important;background-repeat: no-repeat !important;background-size: cover !important;}”][themeone_spacer height=”6px”][vc_column_text]
Learn more about the Shotgun
How to Attach a Shotgun
[/vc_column_text][themeone_spacer height=”12px”][vc_btn title=”SHOP Shotgun” color=”warning” align=”center” link=”url:https%3A%2F%2Fgoride-debugclone.mystagingwebsite.com%2Fkids-bike-seat%2Fshotgun-handlebars%2F||target:%20_blank|”][themeone_spacer height=”6px”][/vc_column_inner][/vc_row_inner][themeone_spacer height=”41px”][/vc_column][/vc_row][vc_row][vc_column][vc_column_text]
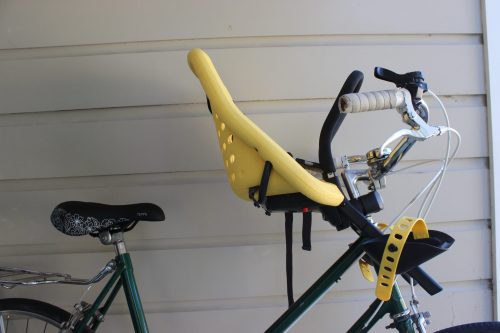
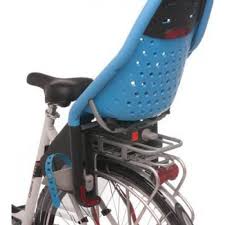
Do Little Kids Bike Seat $155 – good value, versatile
[/vc_column_text][themeone_spacer height=”41px”][vc_row_inner][vc_column_inner width=”1/6″][/vc_column_inner][vc_column_inner width=”2/6″][vc_single_image image=”14689″ img_size=”600 x 400″][vc_column_text]Do Little attached to front suspension mountain bike[/vc_column_text][/vc_column_inner][vc_column_inner width=”2/6″][vc_single_image image=”7749″ img_size=”600 x 400″][vc_column_text]Do Little out on the trail[/vc_column_text][/vc_column_inner][vc_column_inner width=”1/6″][/vc_column_inner][/vc_row_inner][vc_column_text]
 The Do Little is another mid mount seat option that can be used for mountain biking. This seat also works on a lot of other bike frames including a step through frame (no top tube) as you can buy a “Retro” fitting to attach to your frame and mount the seat on. This gives you the ability to have multiple fittings and use the seat on more than one type of bike making it versatile. The age range for a Do Little is therefore slightly wider, up to 6 or 7 – around 1.4m tall. This is because it can be used on bikes that put you, the rider in a slightly more upright position giving you more space for a child.
We have discovered that the rigid frame of the Do Little is not compatible with small mountain bike/trail bike frames but people on the small side struggle to ride for very long with a child between there arms as there is simply not enough space. They need to be on crusier/retro bikes that give them space.
Do Little is also a New Zealand made product, it was the first company to make a mid mount bike seat without a harness and was designed when mountain biking first began to get a following in NZ. This seat works really well with medium to large triangle frames. The low rider fitting (added in 2017) has made the Do Little more compatiable with the modern full suspension mountain bike shape – just be careful with the width of your top tube, anything over 4.5cm will be too wide.
A Do Little can be fully removed if you have used the standard fitting to attach it – it’s just a slower process than the Shotgun involving 3 bolt sets and an Allen Key. The retro fitting is clamped to your frame and more challenging to remove.[/vc_column_text][vc_row_inner][vc_column_inner delay=”0ms” css=”.vc_custom_1521688334838{background-color: #fafafa !important;background-position: center !important;background-repeat: no-repeat !important;background-size: cover !important;}”][themeone_spacer height=”6px”][vc_column_text]
Learn more about the Do Little;
Will the Do Little fit on your bike?
How to Attach a Do Little
[/vc_column_text][themeone_spacer height=”12px”][vc_btn title=”SHOP Do Little” color=”warning” align=”center” link=”url:https%3A%2F%2Fgoride-debugclone.mystagingwebsite.com%2Fkids-bike-seat%2Fdo-little-kids-bike-seat-fittings%2F||target:%20_blank|”][themeone_spacer height=”6px”][/vc_column_inner][/vc_row_inner][themeone_spacer height=”28px”][vc_column_text]
Mountain Biking Using a Kid Bike Seat – Safety
When you have a passenger you must ride within your capabilities and consider the effect of extra weight e.g. brake earlier to stop. Also always factoring in that your child is not secured to the bike, if they start to move around this will effect your balance and steering.
You may want to lower your seat at first as you adjust to riding with a child between your arms, this is only natural. Try to return your seat to its normal height as soon as you feel comfortable. This will allow you to maintain your natural pedaling style, improves your power and also increases the gap between you and a larger older child.[/vc_column_text][/vc_column][/vc_row][vc_row css=”.vc_custom_1521589502505{background-color: #bc64a9 !important;background-position: center !important;background-repeat: no-repeat !important;background-size: cover !important;}”][vc_column delay=”0ms”][themeone_spacer height=”14px”][vc_column_text]
get Inspired and goRide – The Best Kids Bike Seats for Mountain Biking
[/vc_column_text][themeone_spacer height=”14px”][/vc_column][/vc_row][vc_row][vc_column][themeone_spacer height=”41px”][/vc_column][/vc_row][vc_row css=”.vc_custom_1503562855007{background-color: #f1f1f1 !important;background-position: center !important;background-repeat: no-repeat !important;background-size: cover !important;}”][vc_column delay=”0ms” css=”.vc_custom_1500957776454{background-color: #f1f1f1 !important;background-position: center !important;background-repeat: no-repeat !important;background-size: cover !important;}”][themeone_spacer height=”20px”][vc_column_text]
Thanks for reading. Used together our stories, resources & products support you to achieve and develop as a rider.
Related Resources:
Kids Bike Seat – Match Your Bike to a Seat
Kids Bike Seats – How to do more riding with a toddler or 2
Kids Bike Seats – Safety & Care
The Best Kids Bike Seats for Town Riding
The Best Kids Bike Seats for Bike Path Riding
goRide helps you find your riding SMILE. Now it’s your turn….Contact goRide. Your thoughts, comments or feedback will make us SMILE.
[/vc_column_text][/vc_column][/vc_row][vc_row][vc_column][themeone_spacer height=”41px”][vc_column_text]
Other resources to help make you SMILE when you goRide
[/vc_column_text][/vc_column][/vc_row][vc_row][vc_column width=”1/4″][vc_single_image image=”13956″ img_size=”600 x 400″ alignment=”center” onclick=”custom_link” img_link_target=”_blank” link=”https://www.goride.co.nz/bike-topics/types-of-riders/”][/vc_column][vc_column width=”1/4″][vc_single_image image=”11627″ img_size=”600 x 400″ alignment=”center” onclick=”custom_link” img_link_target=”_blank” link=”https://www.goride.co.nz/bike-topics/places-to-ride/”][/vc_column][vc_column width=”1/4″][vc_single_image image=”13955″ img_size=”600 x 400″ alignment=”center” onclick=”custom_link” img_link_target=”_blank” link=”https://www.goride.co.nz/bike-topics/women-learning-bike/”][/vc_column][vc_column width=”1/4″][vc_single_image image=”11960″ img_size=”600 x 400″ alignment=”center” onclick=”custom_link” img_link_target=”_blank” link=”https://www.goride.co.nz/bike-topics/riding-gear/”][/vc_column][/vc_row]